The options available to the SQL Data Professional to edit/view Integration and Reporting services files are limited. I have found that the steps below offer a stepping-stone to getting your environment built to perform these actions.
Install Visual Studio 2019
Getting started, navigate to your preferred method for downloading Visual Studio 2019.
For this example, I am downloading the Professional edition trial from the Visual Studio Download page.
Once you have downloaded the installer file from the website, run the .exe by Double-Clicking the file to start the installer.
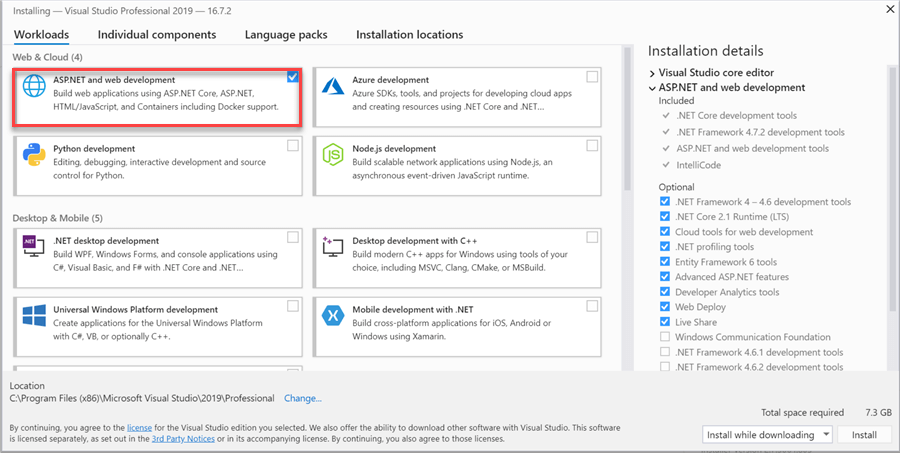
Since we are doing a simple install, I will choose the ASPNET and Web Development installation package. Notice on the right side you will be shown the options that will be installed during the process.
Click the Install button to begin the installation with the option chosen.
The installer will begin and proceed to download and install the components needed for the installation type you chose previously.
Once the installation is complete, go ahead and reboot your computer.
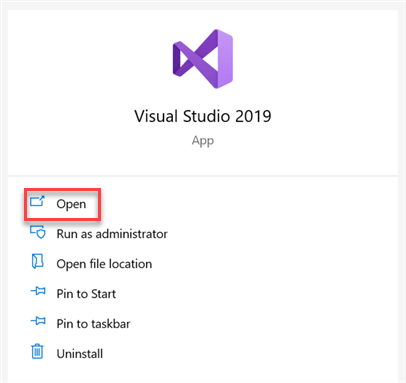
Now that your computer is back online, open Visual Studio 2019 from the Start Menu.
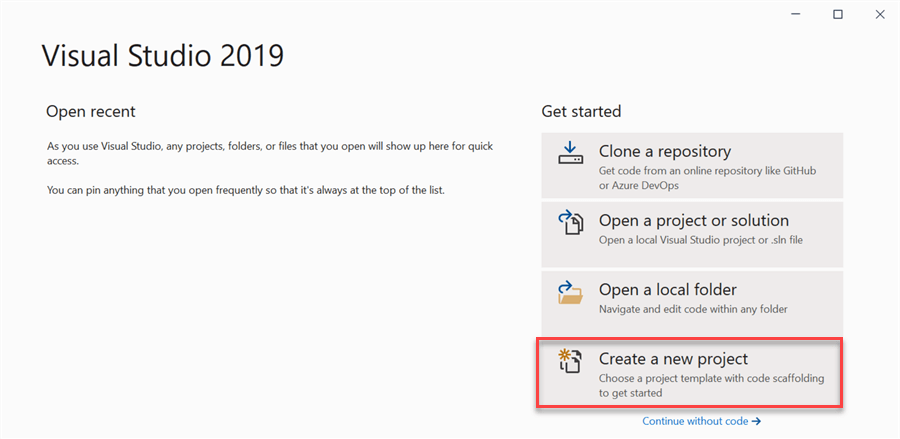
Now we will create a new Integration Services project by Clicking Create a New Project.
You can narrow down the list of project types by entering SQL in the search bar.
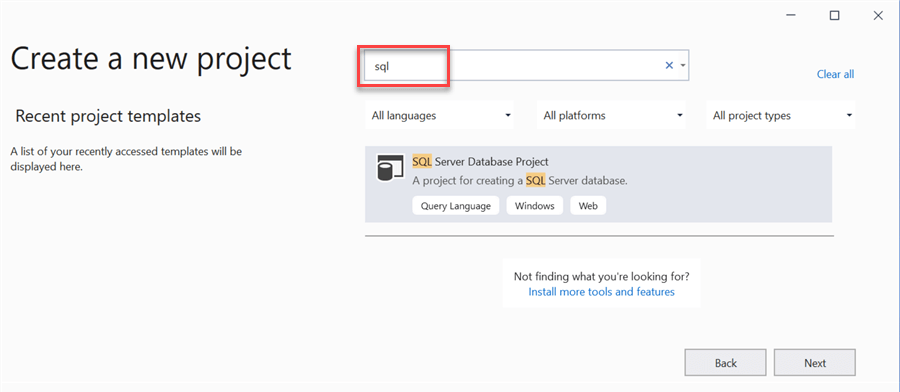
As you see there is no option in the list for Integration Services to be selected. You will need to install the proper extensions to get your Visual Studio 2019 environment configured for the services you might be asked to troubleshoot.
Installing Visual Studio Extensions
From here, Click the Back button to get back to the main Visual Studio landing page.
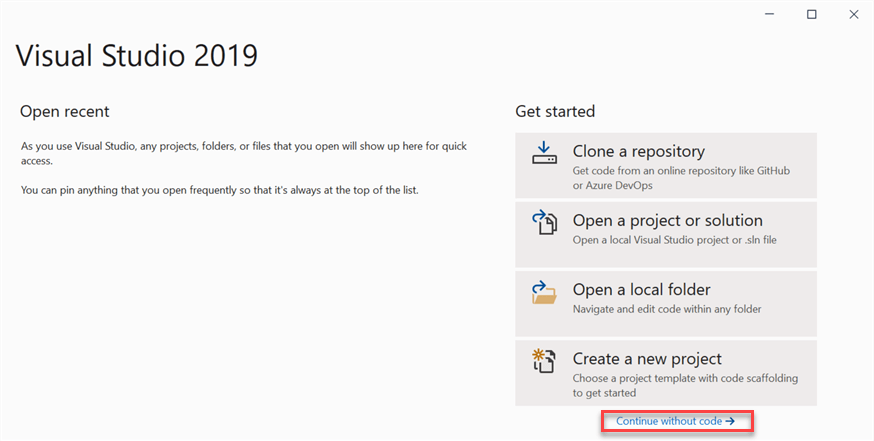
Now Click on the Continue without code link to get into a blank Visual Studio editor.
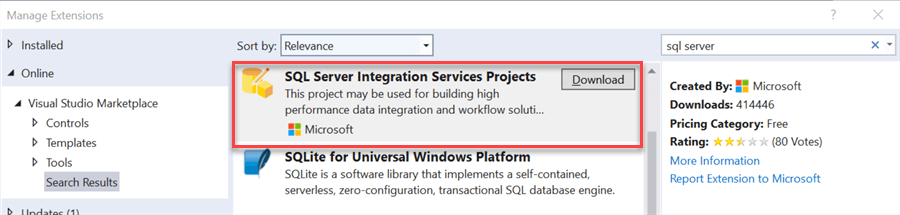
From the top menu choose Extensions > Manage Extensions. In the search box type SQL Server to narrow the list of extensions down.
Scroll through the list and find the extensions listed below to download. Click the Download button on each item.
- SQL Services Integration Services Projects
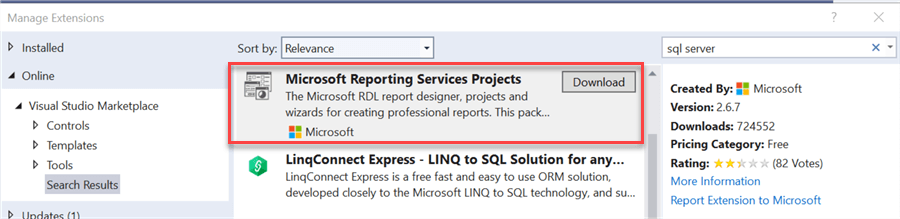
- Microsoft Reporting Services Projects
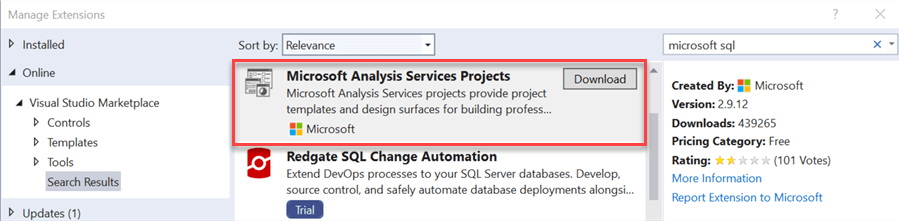
- Microsoft Analysis Services Projects
Installing SQL Services Integration Services Extension
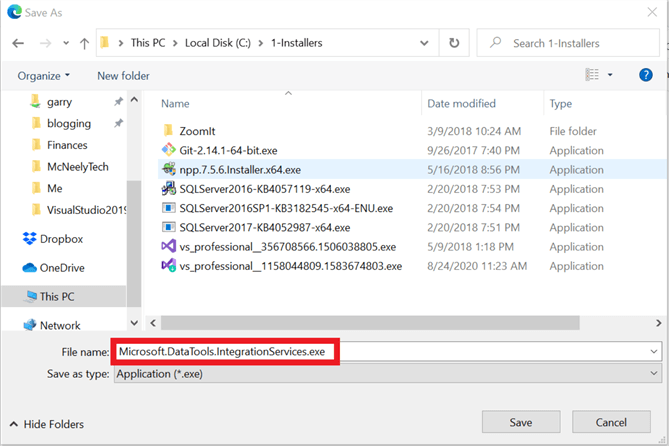
When you Click Download for the Integration Services extension you will be prompted to download an .exe file.
After the download completes, Double-Click the file to start the installation.
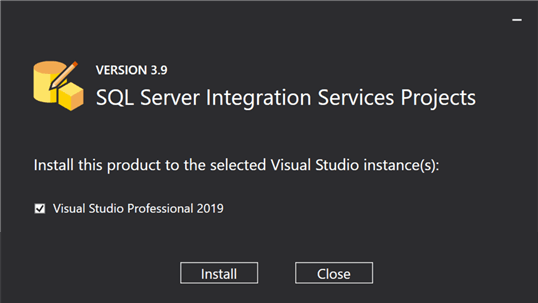
Choose your language settings and Click Install to begin the extension installation.
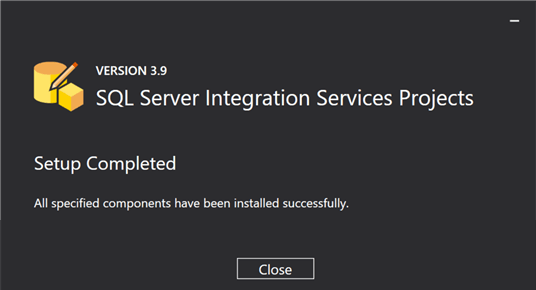
When the installation is complete, you will need to Click Close to finish.
Installing SQL Services Reporting Services and Analysis Services Extension
From the Manage Extensions screen, Click download on each extension. Next, close Visual Studio 2019 and relaunch prompting the extensions to download.
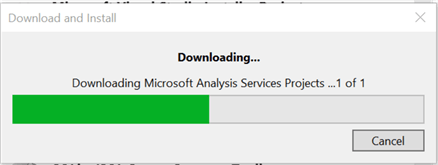
Once the download is complete the installation will begin. After a couple minutes you will receive a message like the one below.
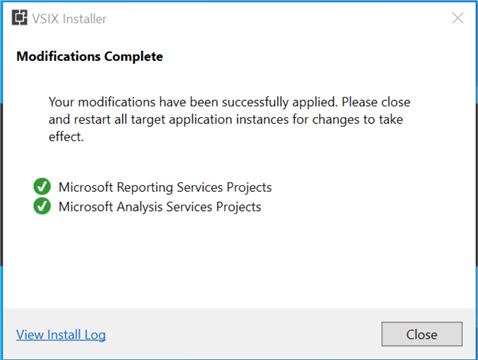
This means that now all the expected extensions are downloaded and installed into your Visual Studio 2019 environment and ready to use.
Perform one final restart of your computer and then we will get started creating projects.
Using Visual Studio 2019 to add an existing RDL to a Reporting Services Project
Launch Visual Studio 2019 from the Start Menu.
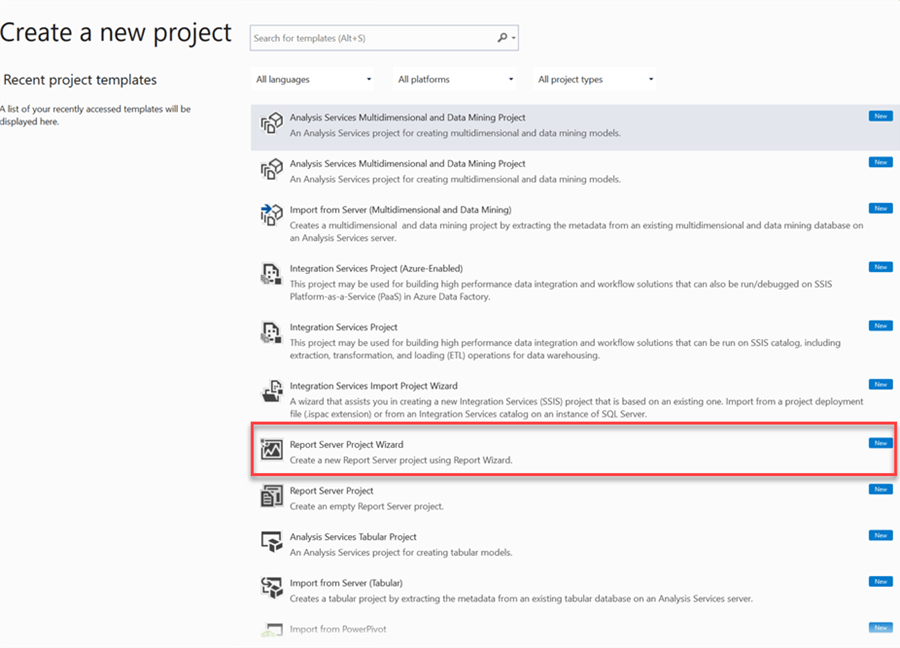
As you can see, now you have a list of tools we can use to customize your environment.
Click Report Server Project Wizard and then Next.
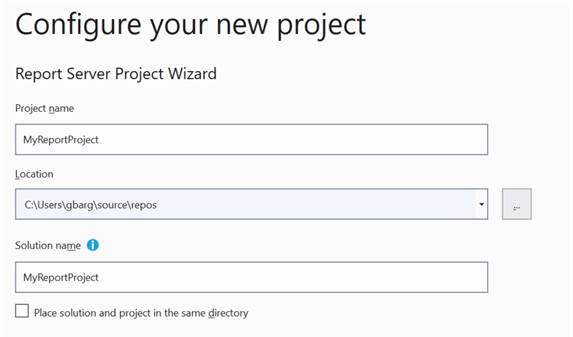
Now enter your Project Name and Location then Click Create.
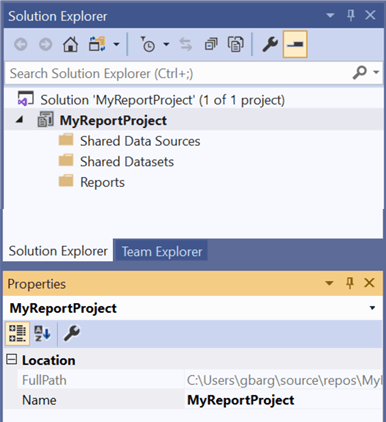
You now have an empty SSRS project that you can create new Data Sources or Report and even add existing RDL files to review and check for problems.
To add an existing RDL file you might have downloaded from a Reporting Services Server, begin by Right-Clicking on Reports.
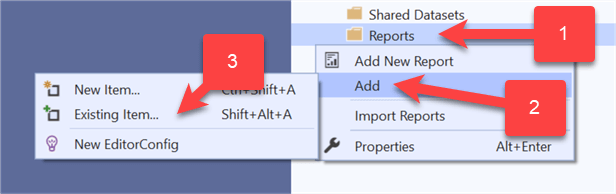
Then choose the Add > Existing Item option.
You will be prompted to browse for the *.RDL file you want to add to the project.
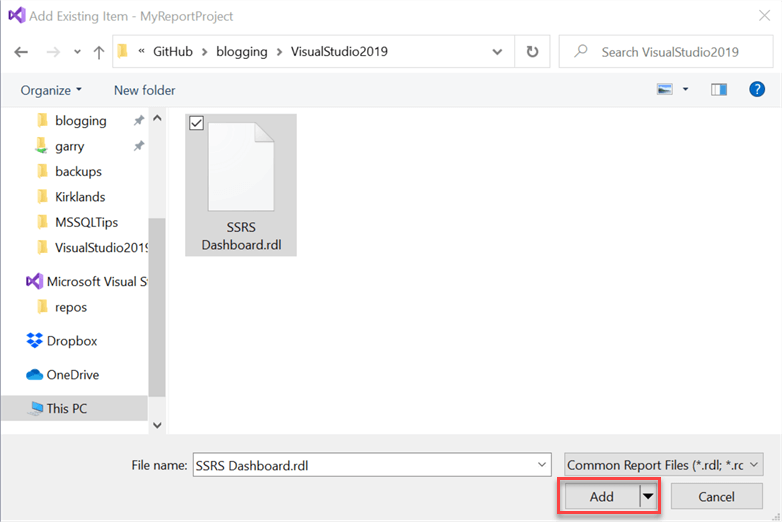
Choose the filename and then Click Add.
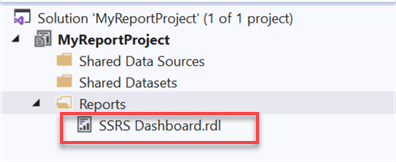
You now have the RDL file added to your local Reporting Services Project.
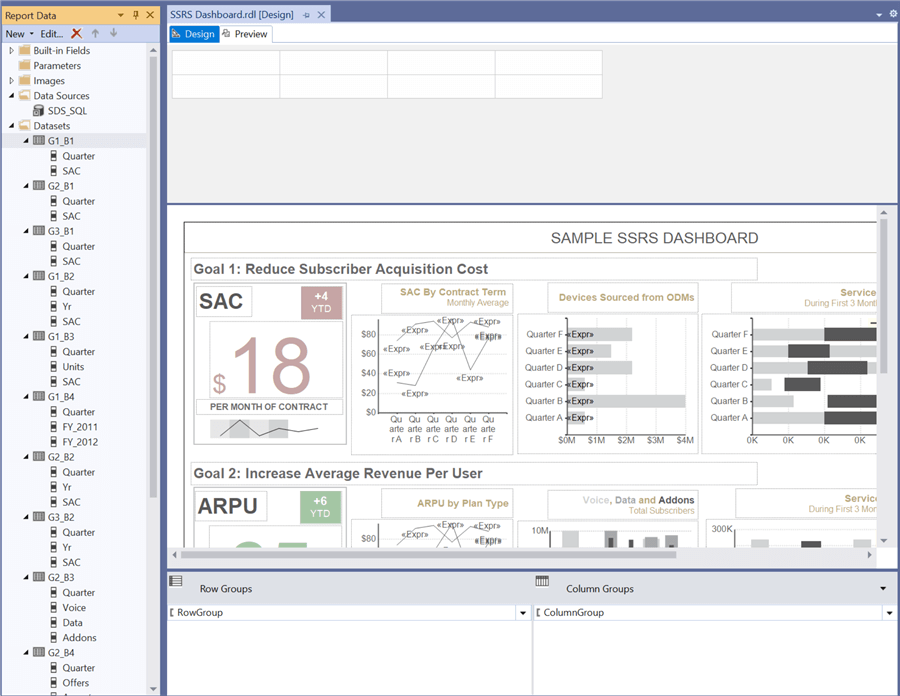
To begin troubleshooting, Double-Click on the report in the Solution Explorer window.
With the Report now loaded in the Designer you can begin your troubleshooting efforts.
Using Visual Studio 2019 to add an existing DTSX to an Integration Services Project
Launch Visual Studio 2019 from the Start Menu.

From the project template list choose Integration Services Project and Click Next.
You can now enter the information for your new Integration Services Project.
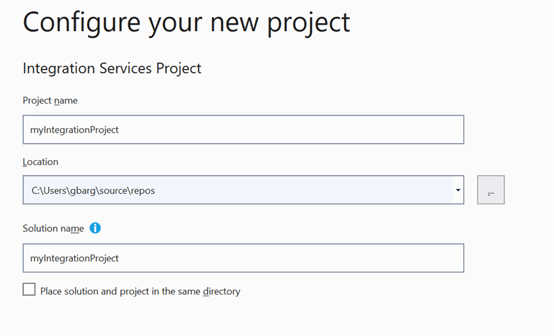
Once everything is entered as you want it Click Create.
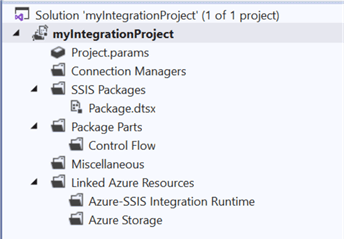
You can see a new Integration Services Project is created with an empty Package.dstx file for you to begin work.
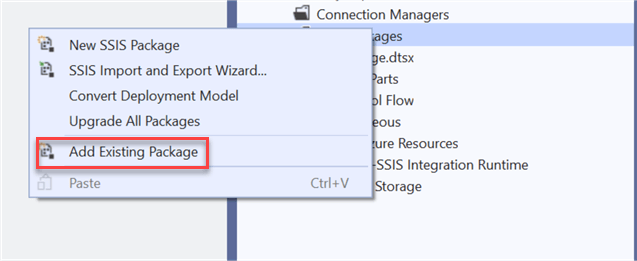
However, if you are looking to troubleshoot an existing Integration Services Package you will want to Right-Click SSIS Packagesand choose Add Existing Package.
Based on the location of the Package that you want to add from choose the correct option from Package Location.
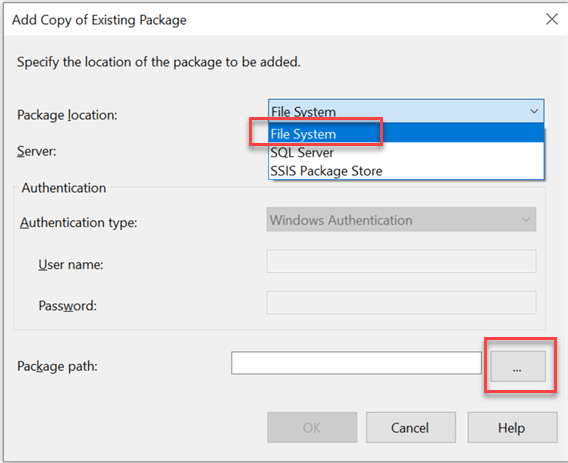
For this example, we are going to use the File System location and browse to the *.DTSX file(s) on the local computer and Click Open.
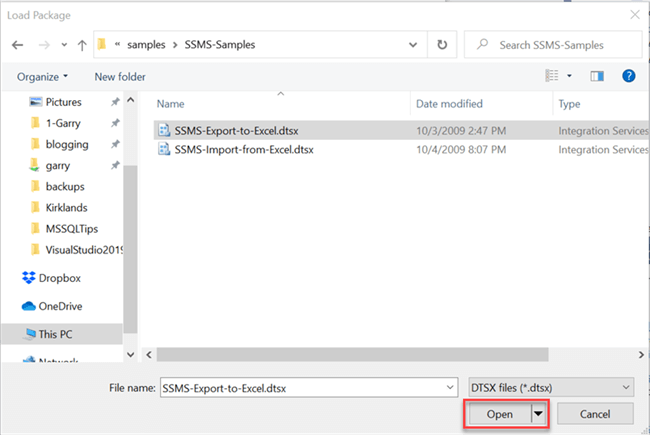
Once you Click Open, the package will be added to the existing Integration Services Project and upgraded automatically if required.
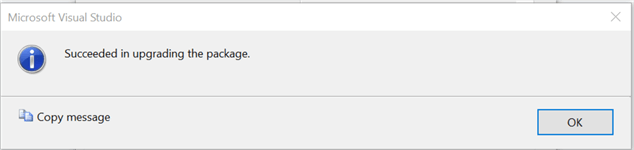
Click Ok to complete the activity.
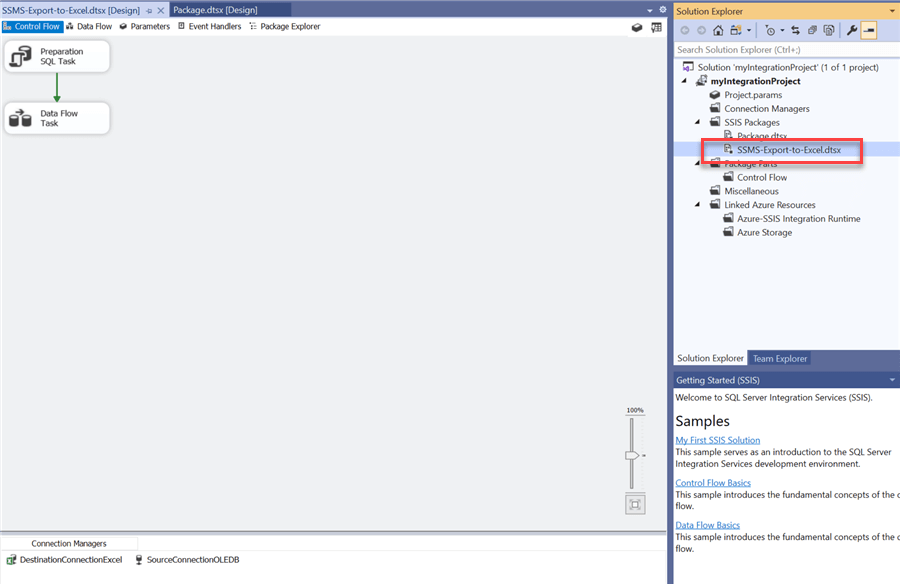
You can now see that the imported *.DTSX package has been added to our project.
If you Double-Click the Integration Services file it will load the definition in the editor on the left. From here you can see the Control Flow, Data Flow, Parameters and Connection Manager. This will allow you to start troubleshooting this Integration Services Package.