CALLING A MICROSOFT FLOW FROM DYNAMICS 365 AND POWERAPPS USING JAVASCRIPT
In our previous post, we send a POST request to a Microsoft Flow. We showed how to do this using the Postman application. Let’s now run this from Dynamics 365 / PowerApps.
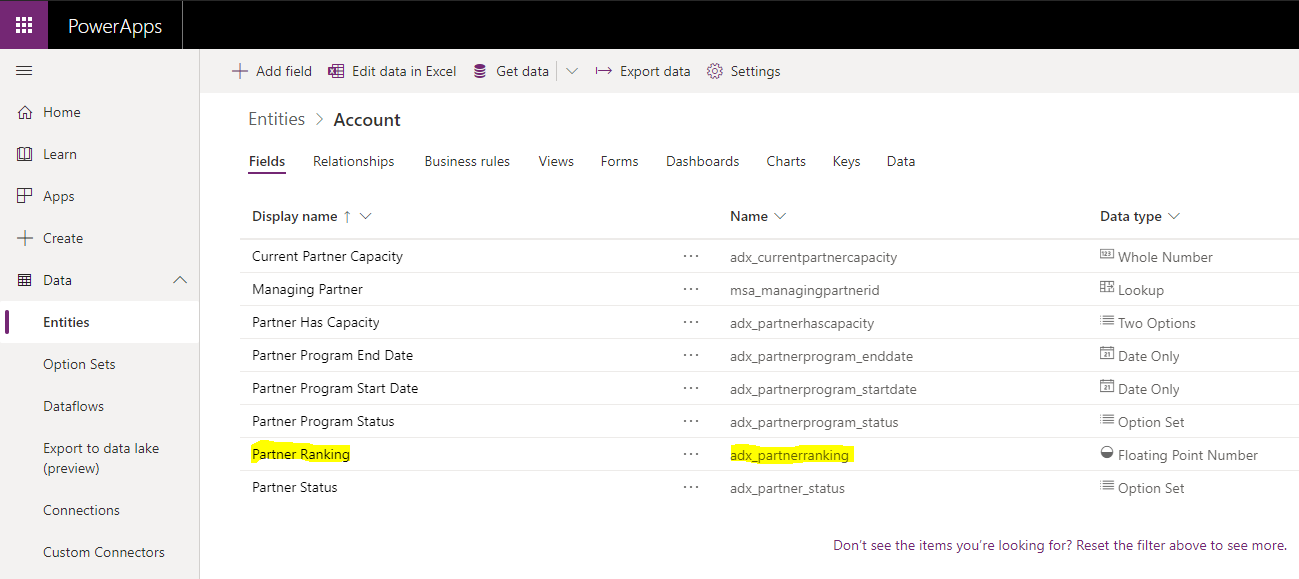
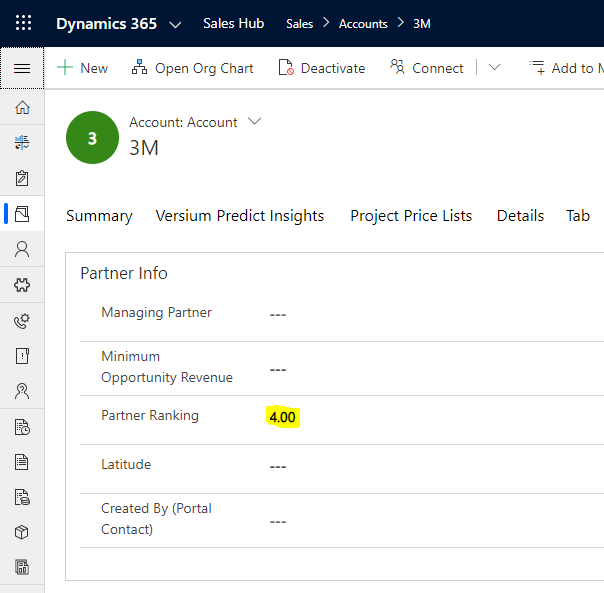
On our Account page, we have a field called Partner Ranking. We see the ranking for the current account is set to 7:
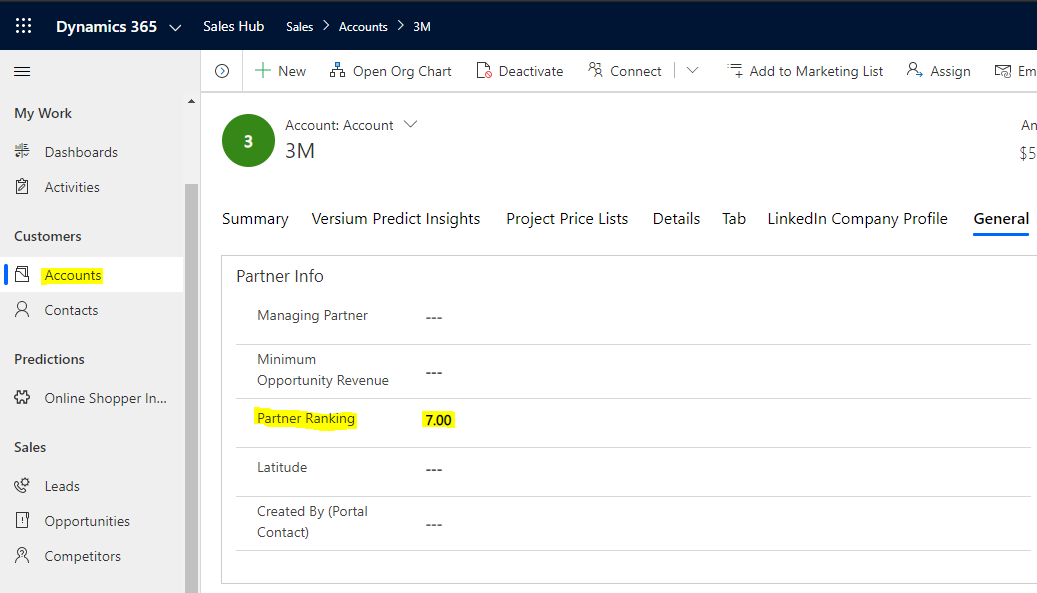
Now let’s say we want to post a message to a Microsoft Teams channel when this number drops below 5 for an account. We want to do this using JavaScript on saving of the Account record.
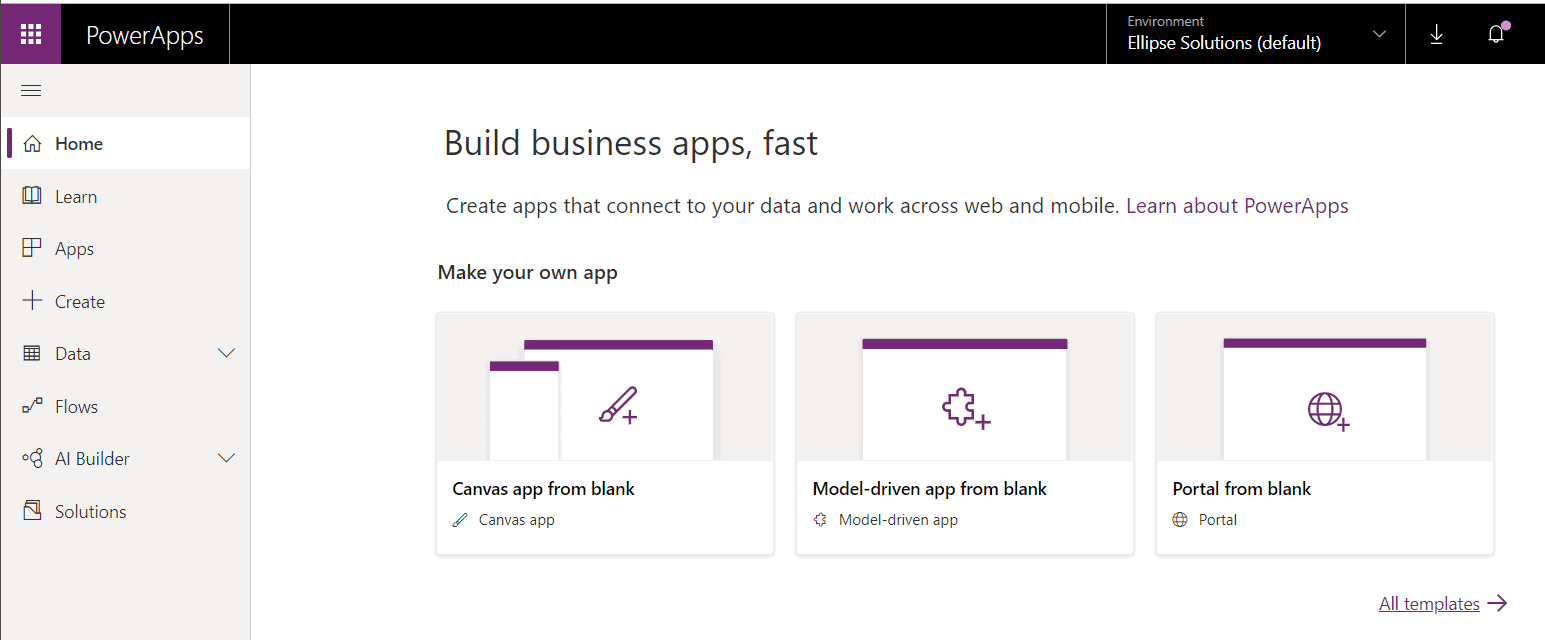
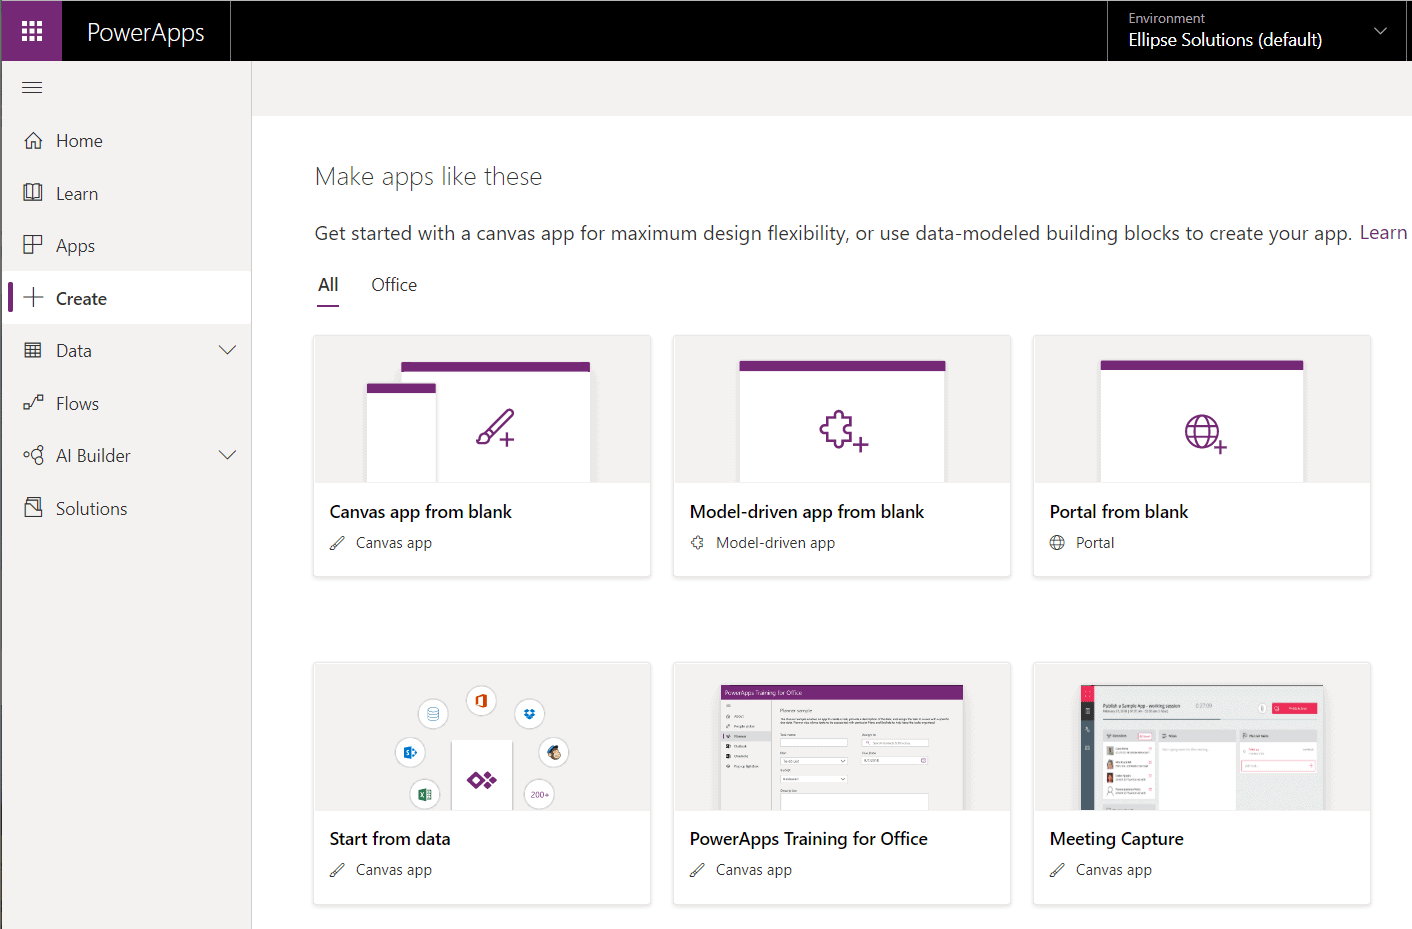
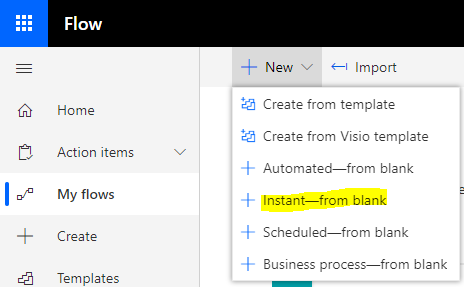
First, let’s create a new Flow. Go to https://flow.microsoft.com: and select New->Instant – from blank:
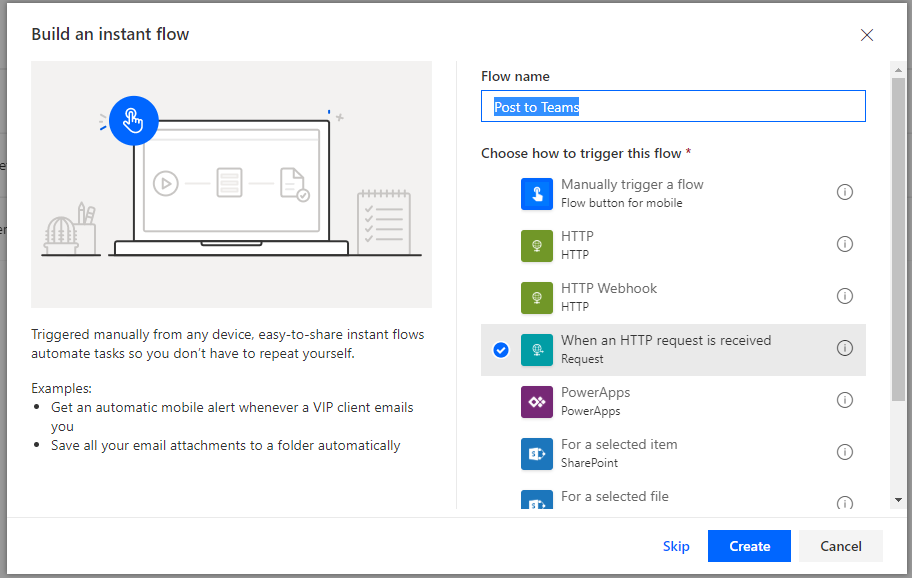
Let’s call it “Post to Teams” and select When an HTTP request is received:
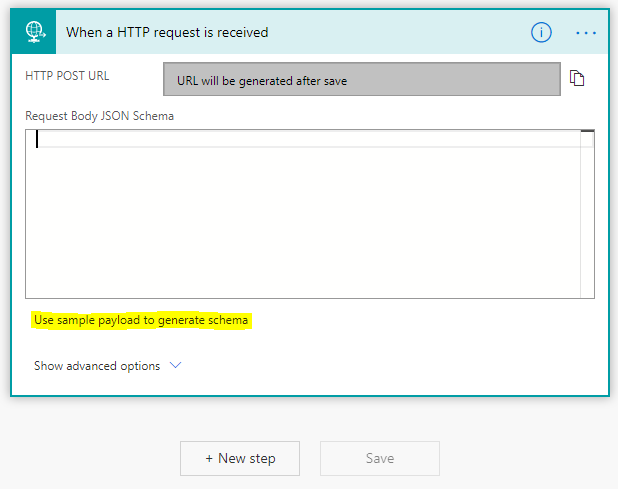
You will see below. Click on Use sample payload to generate schema:
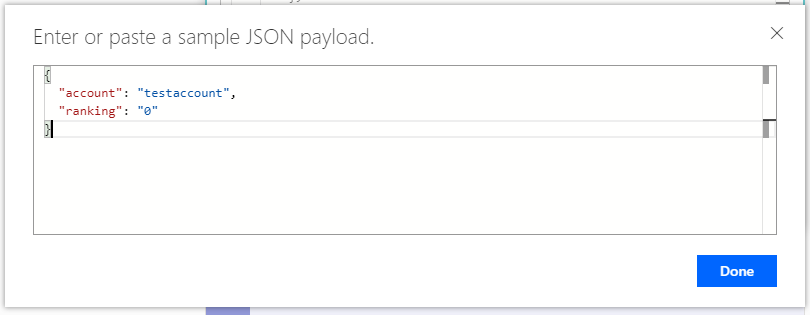
We will send account and ranking to our teams chat message, so let’s create a JSON sample with these 2 fields:
{
  "account": "testaccount",
  "ranking": "0"
}
Paste this into the window and click Done:
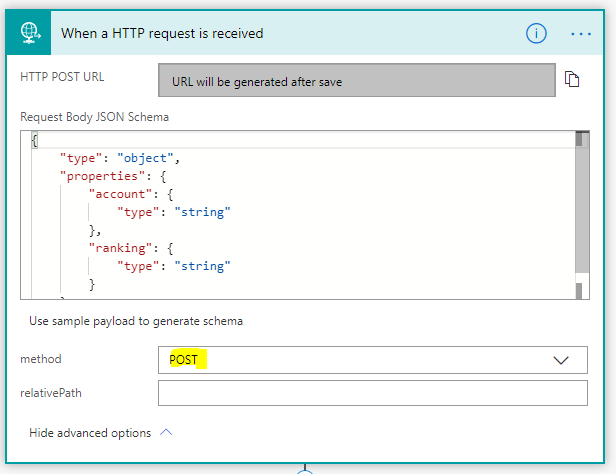
We see the schema has been generated from the sample JSON payload: Set the method to POST:
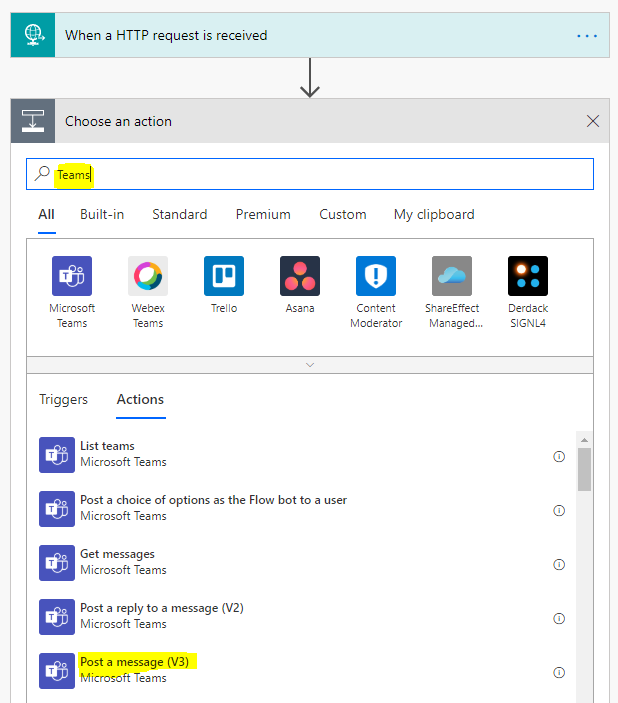
Now let’s add an action, search for Teams then Post a message:
Select the Team, Channel and Message. We will use Dynamic content – account and ranking – in the body of our message. Click Save:

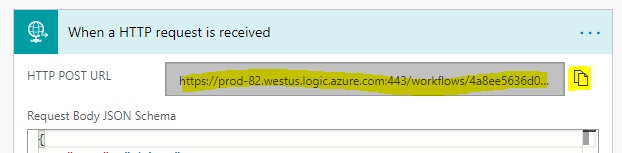
This generates a URL for our HTTP POST to hit. Copy the URL:
Now let’s customize Dynamics 365 / PowerApps. Go to Customizations for the Account entity and find the field name. In https://make.powerapps.com/ we see the field is adx_partnerranking and the account name is name:
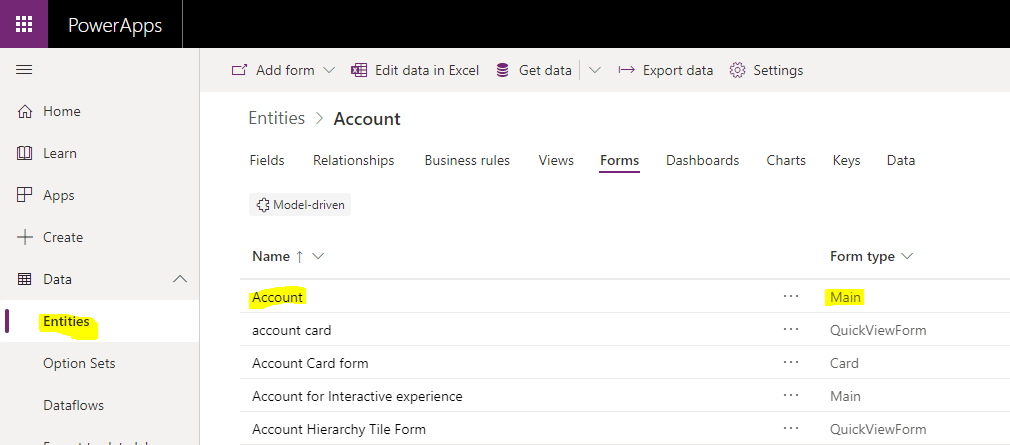
Now let’s go into the main Account form:
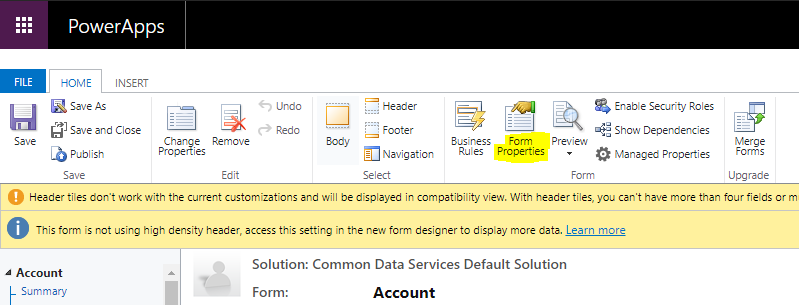
Switch to Classic and go to Form Properties:
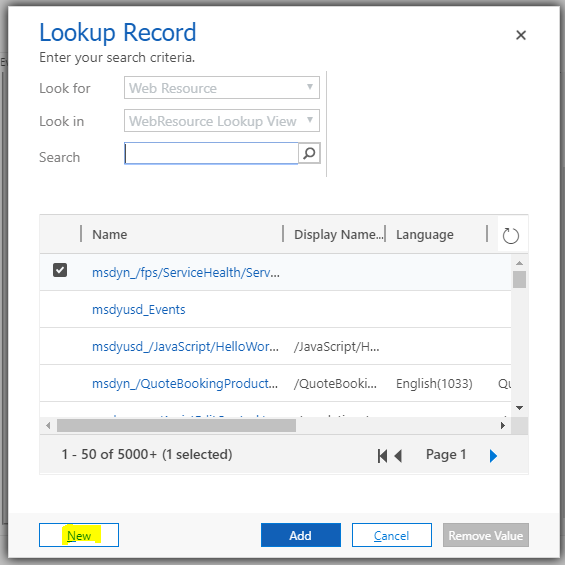
Let’s Add a new script:
Click New:
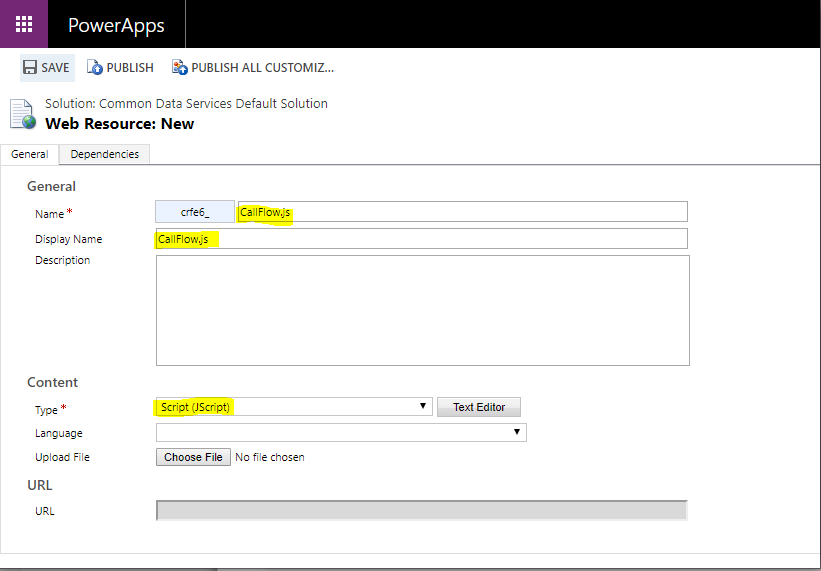
We will call it CallFlow.js and set it to JScript:
Now the JavaScript code. We will get the ranking and account values from the form using getAttribute, and paste the url from our flow copied above into the url variable. The code posts to the address the JSON data we have created if the ranking is below 5:
function PostFlow(executionContext) {
var formContext = executionContext.getFormContext();
var ranking = formContext.getAttribute("adx_partnerranking").getValue();
var account = formContext.getAttribute("name").getValue();
if (ranking <= 5) {
var req = new XMLHttpRequest();
var url = "<paste url from flow>";
req.open("POST", url, true);
req.setRequestHeader('Content-Type', 'application/json');
req.send(JSON.stringify({
"account": account,
"ranking": ranking
}));
}
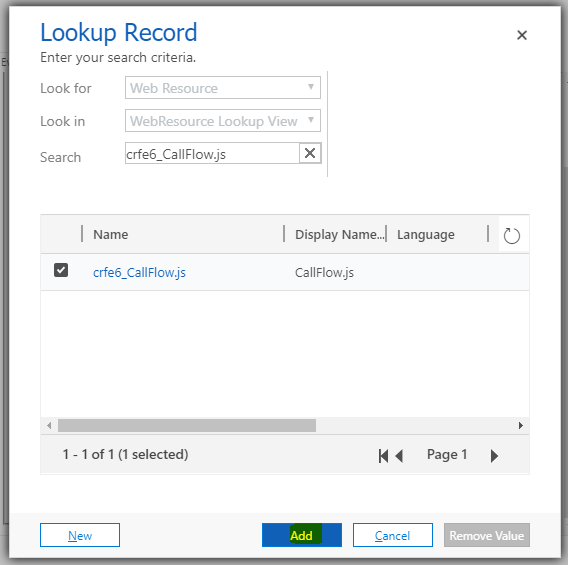
}Click Save and click Add:
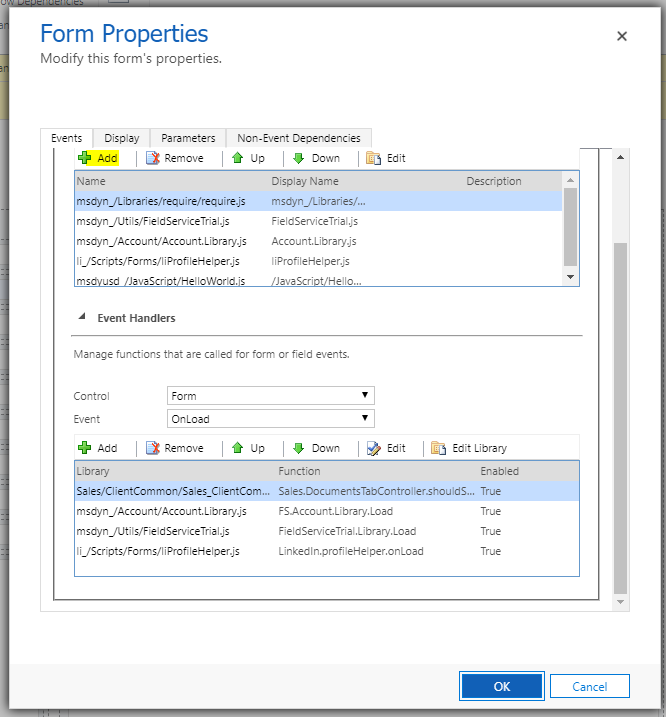
In Form OnSave click Add:
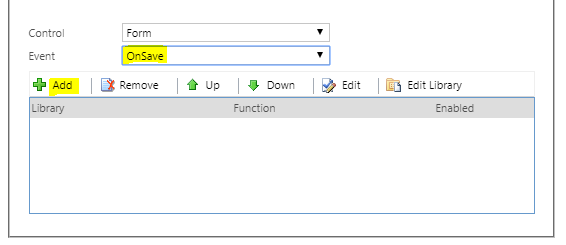
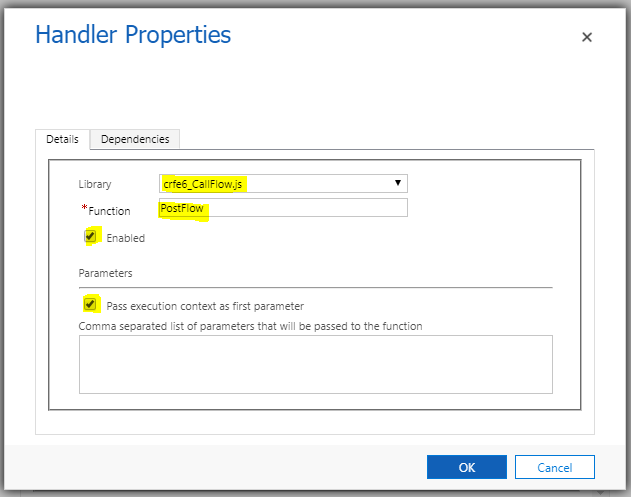
Select the JS library and enter the PostFlow function we created:
Save and publish the form:

We’re now ready to run our test. Go to the Account form and change the Partner Ranking field to 4:
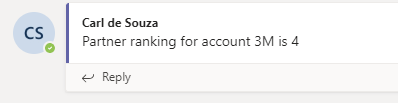
On saving the record, we see the Flow is run through JavaScript and a teams chat message is created with “Partner ranking for account 3M is 4”:
That’s it, you can now run Microsoft Flows from Dynamics 365 and PowerApps using JavaScript.