Thursday 29 August 2024

Using Environment Variables in Dynamics 365 CRM


Using Environment Variables in Dynamics 365 CRM 

Introduction

It’s quite often we come across scenarios where we require some configuration settings to accomplish a requirement in Dynamics 365 CRM/Power Apps. To overcome this requirement we create a custom entity with few fields in it and then we create a record to store the required configuration details.

For example, let’s say we want to integrate our Dynamics 365 CRM with an external system using the API and we have three instances of our CRM (i.e. the Dev, UAT, and Production). However, we have 3 different APIs as well, each specific to a respective CRM instance. To make sure our process uses the right API for the right instance, we have to store the API URL in the respective instances so we create a custom entity and use it to store the URL as a record. This is how we assured that the respective CRM instance used the respective API URL.

This may not be the best possible way but some time back this was the only way until Microsoft came up with Environment Variables.

Now using environment variables you can achieve all the above without going through all the fuss.

So let’s understand the background of this to get a clear picture:

• Microsoft has created 2 entities/tables named “Environment Variable Definitions” and “Environment Variable Values”.
• The purpose of these entities/tables is to store the environment variables created for your organization as records which means you can create more than one environment variable for your organization.
• The 2 entities (i.e. “Environment Variable Definitions” and “Environment Variable Values”) are related to each other. The “Environment Variable Definitions” has a 1:N or rather a 1:1 relation with the “Environment Variable Values”. The reason we are saying this is because you cannot have more than one value for one definition.

Why do we need 2 entities to maintain the environment variables? Let’s understand their purpose while we take you through the creation process of the variable. We will create an environment variable named “Api URL” to store the respective API end points for respective CRM instances.

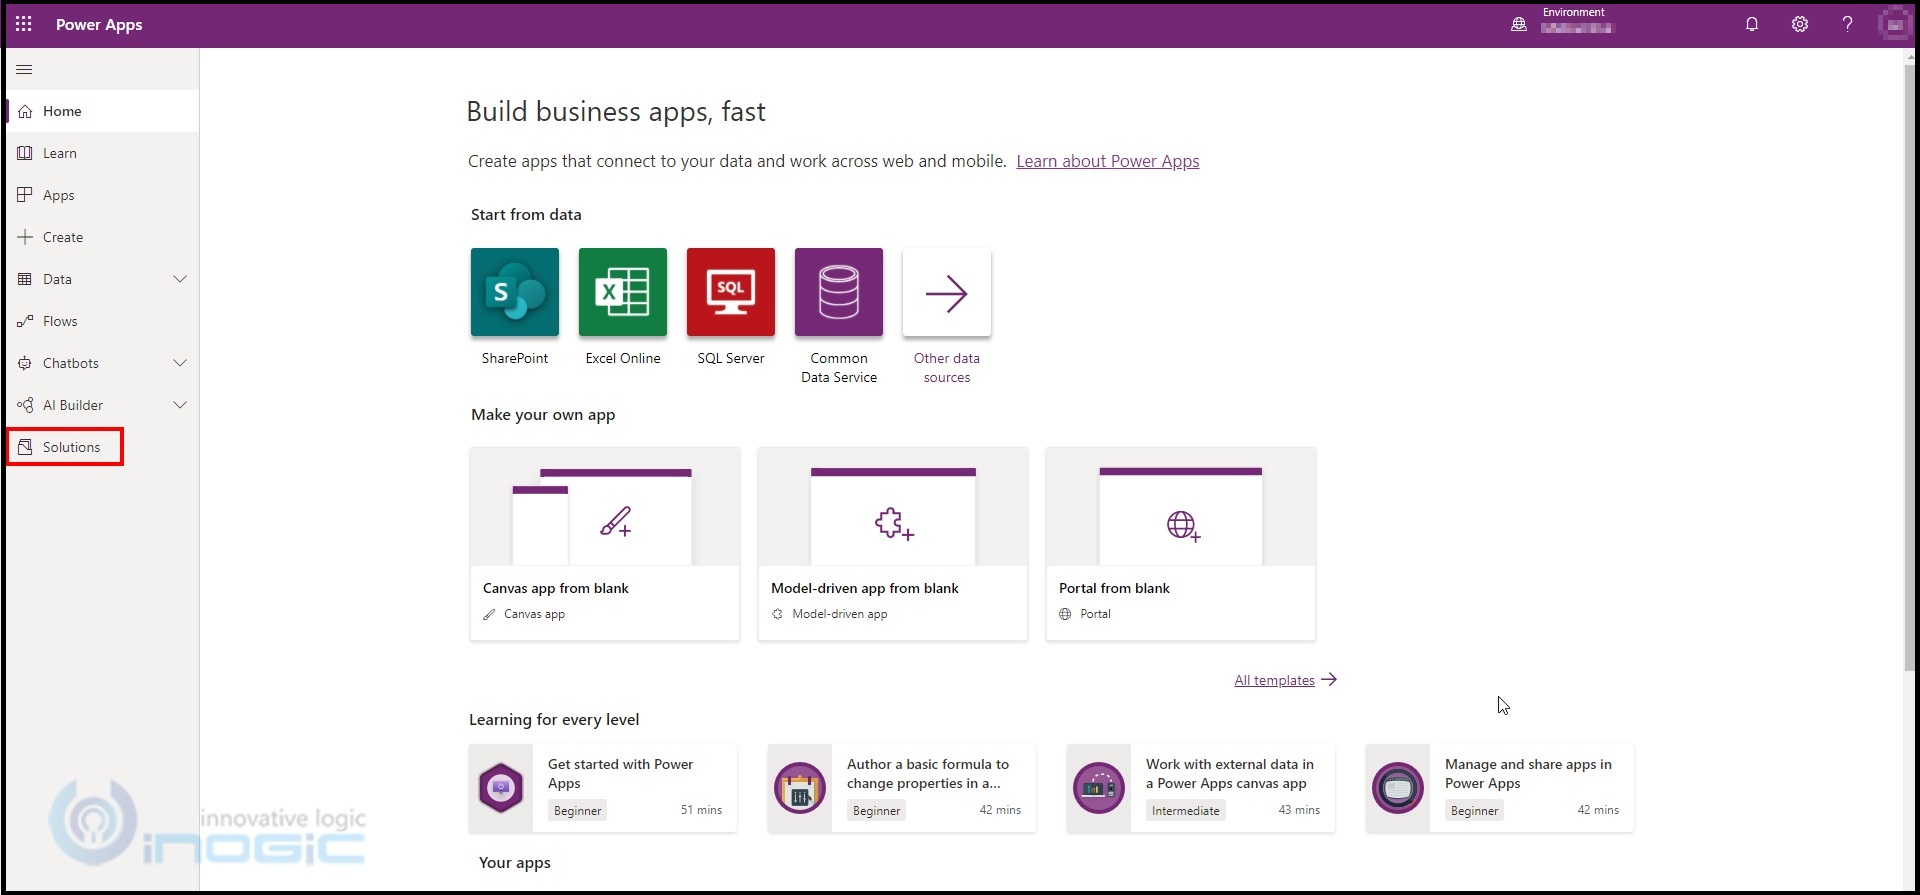
• First, make note that you must navigate to your solutions via Power Apps to create the environment variables. You cannot create or even view an Environment Variable from the classic window of your solutions.
• Once you are logged in to your Power Apps, on the left pane, click on Solutions.

Environment Variables

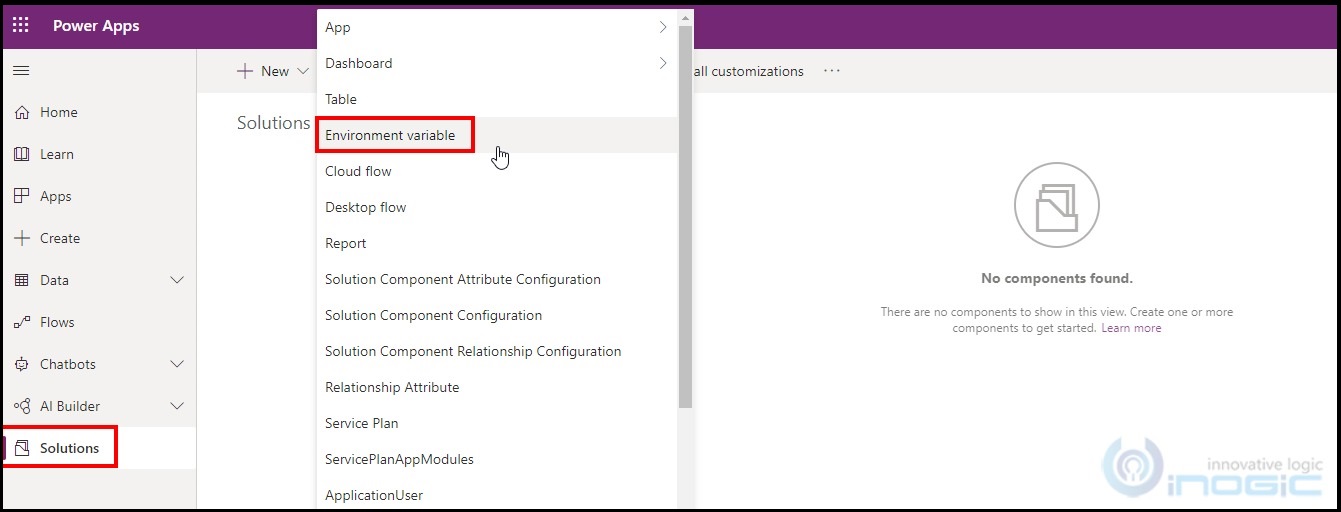
• Click on New button and then Environment Variable

Environment Variables

• You will be redirected to the following window

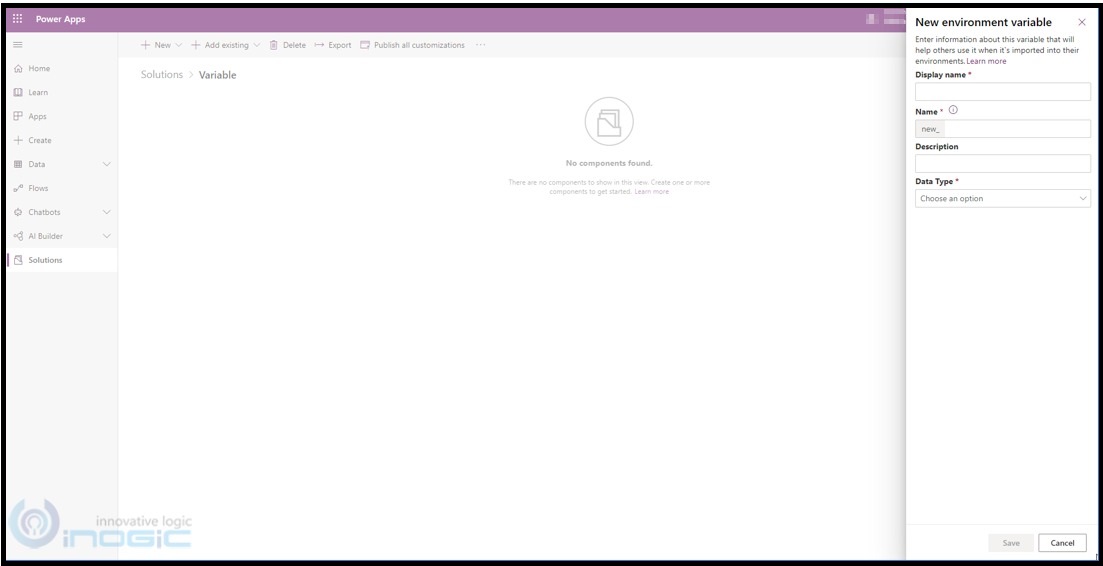
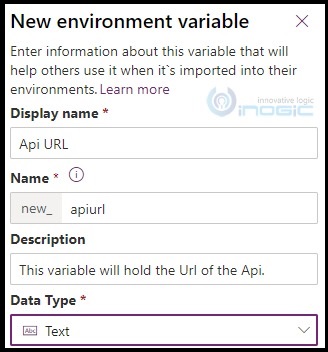
Here, you need to enter the values in the following

– Display Name: As the name suggests, this will be the display name of the variable.
– Name: This is the schema name for the variable. You can actually query on the entity “environmentvariabledefinitions” and find the value entered in name under property “schemaname“
– Description: This will store any details you want to mention to describe the purpose of this environment variable.
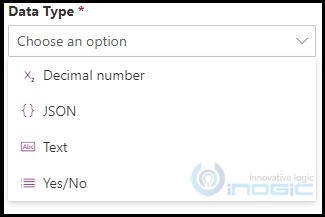
– Data Type: There are 4 datatype options at the moment which are “Decimal number”, “JSON”, “Text”, “Yes/No”.

Environment Variables

As per our example we would be creating the variable with following details:

– Display Name: Api URL
– Name: new_apiurl
– Description: This variable will hold the URL of the API
– Data Type: Text

Environment Variables

Note: Like any other tables and columns, the environment variable as well takes the publisher prefix of the solution.

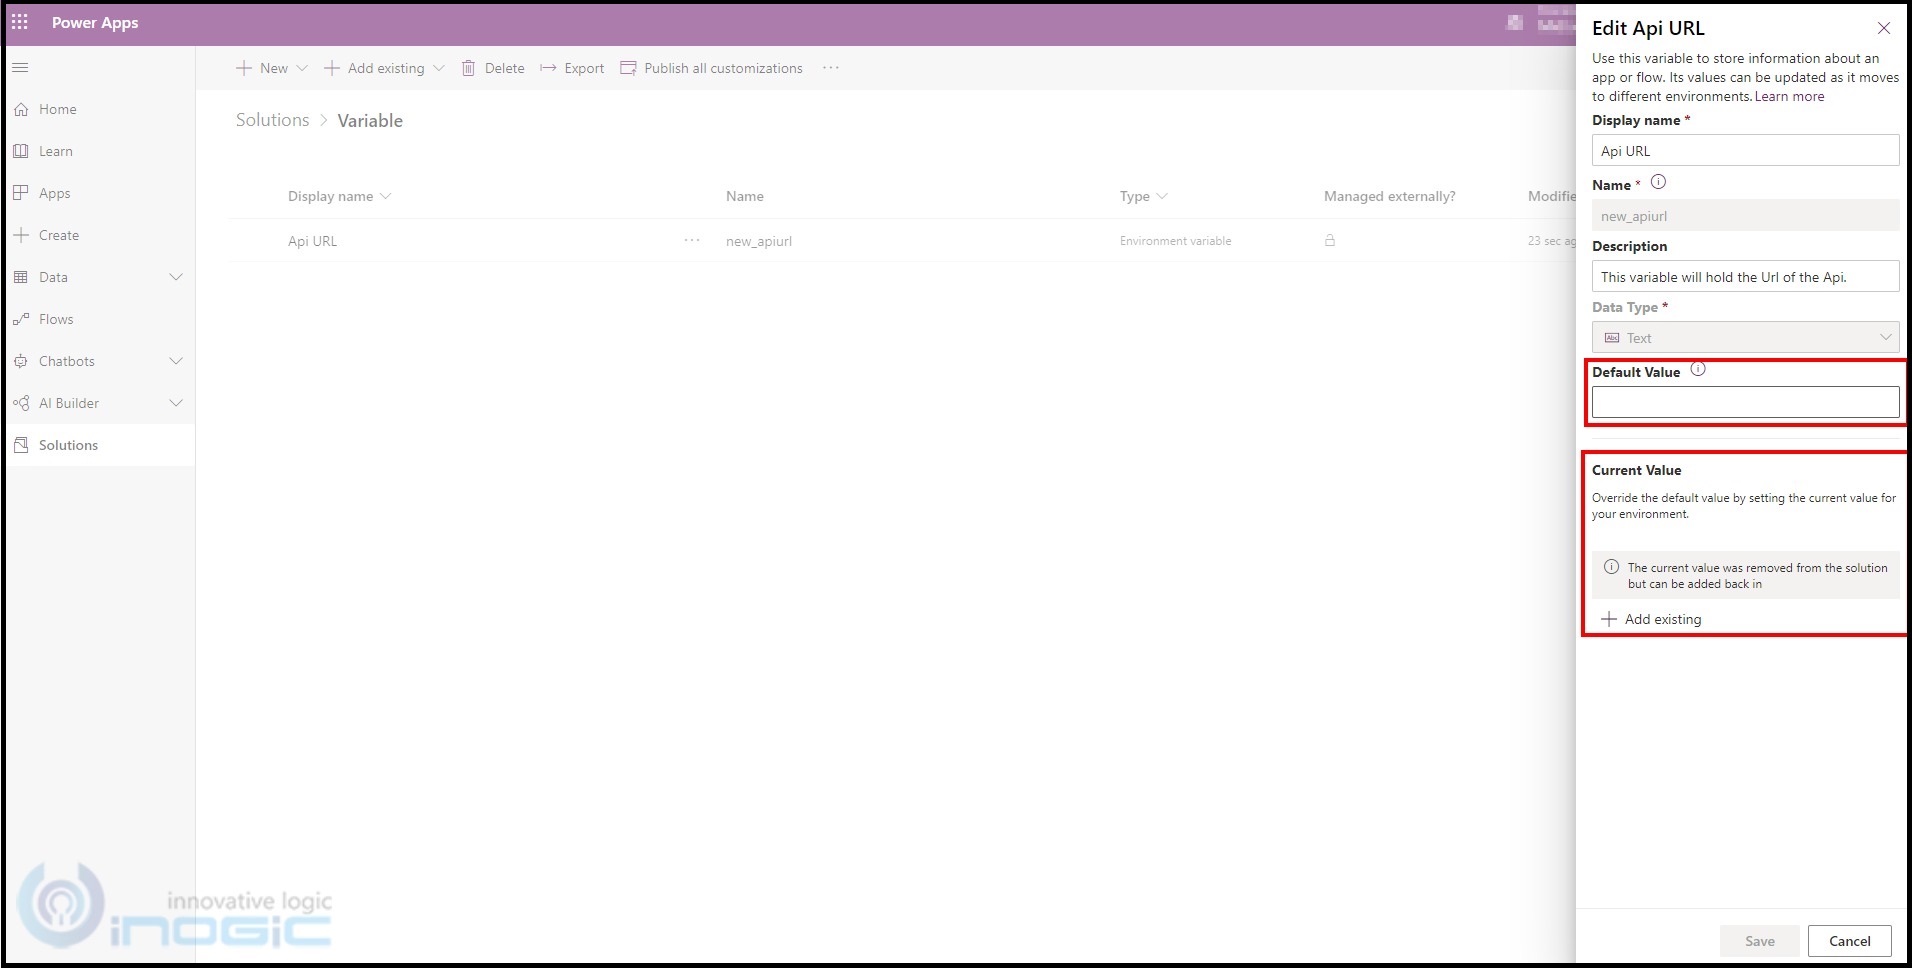
• Once you select the Data Type, you start seeing 2 new fields i.e. Default Value and Current Value. The purpose of these 2 fields will be to store the value in this variable.

Environment Variables

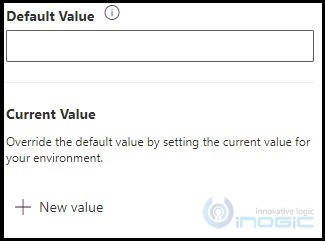
The Default Value as the name suggests stores the value which you want the variable to return by default when there’s no other value overriding the Default Value. The Current Value is the value that overrides the Default Value. In our scenario, the API URLs for the respective instances will go in Current Value.

Note: In the start of this blog we mentioned that Microsoft has created 2 entities/tables “Environment Variable Definitions” and “Environment Variable Values” to store the environment variables, this is because the Current Value gets stored as a record in the “Environment Variable Values” table and is associated to the record created in table “Environment Variable Definitions” which consists of the remaining details like default value, name, and description of the variable.

• Enter the values and hit Save, your environment variable will get created.

You can move the same environment variables from one environment to another but instead have different Current Value in different environments.

To do this, you need to follow the below steps:

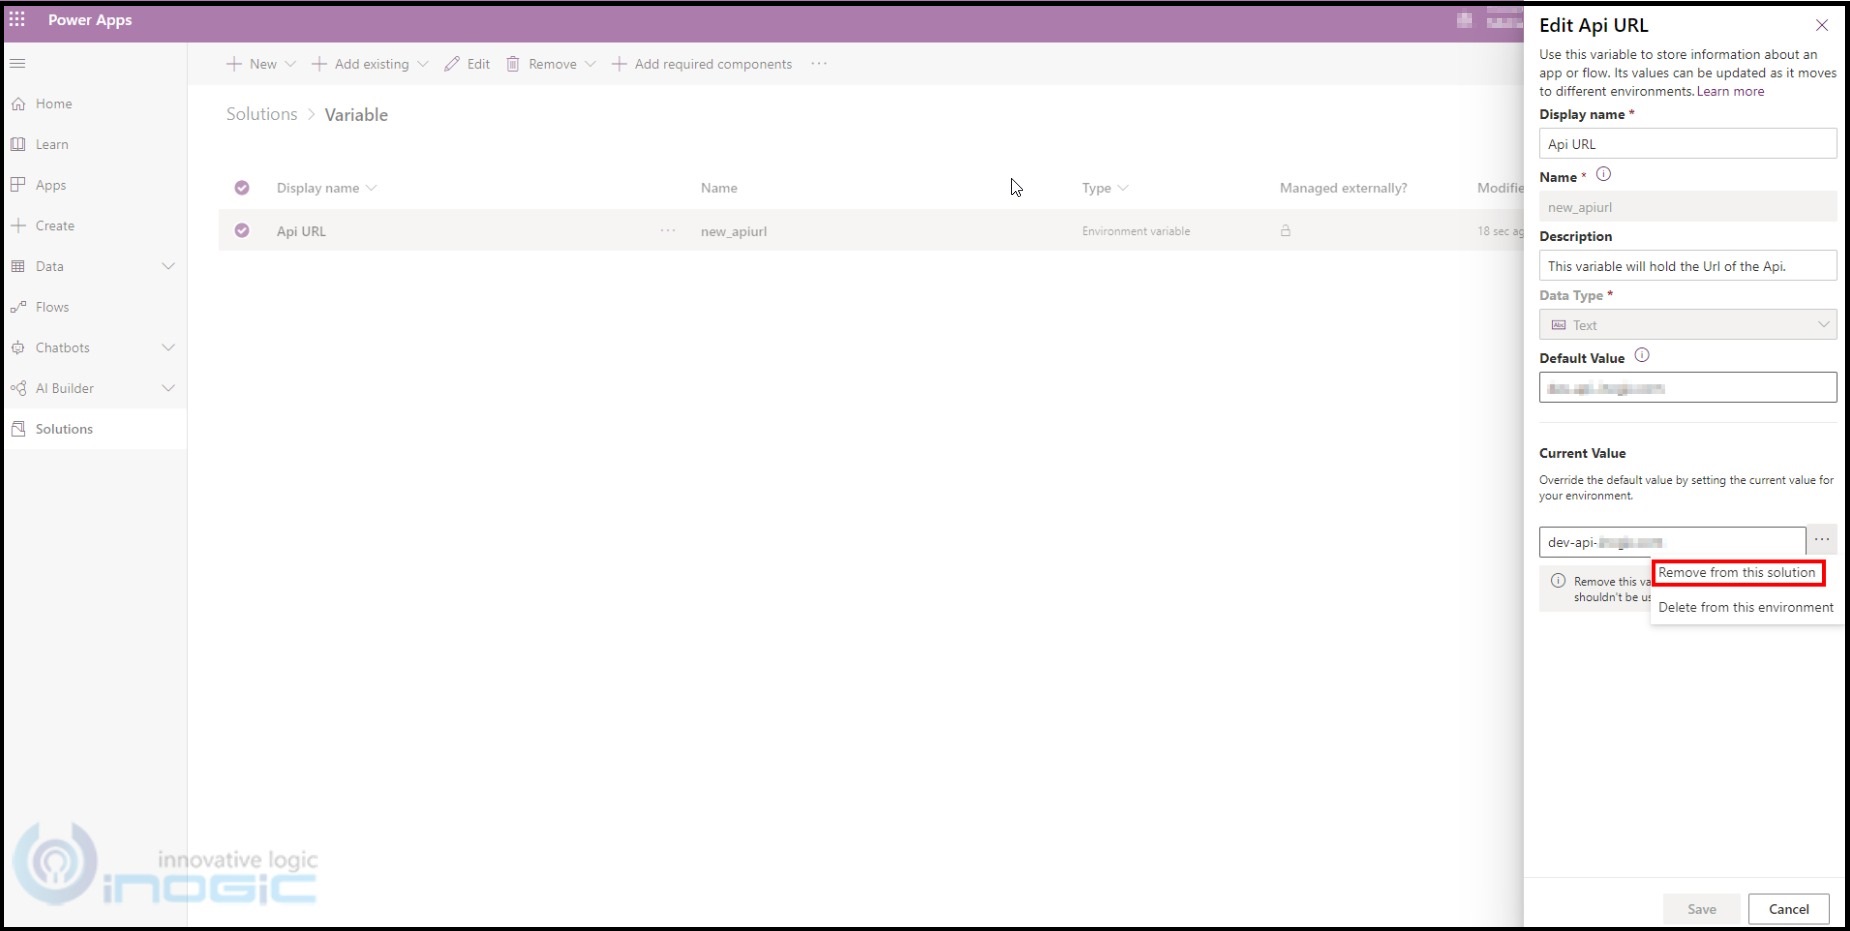
• In the source environment, navigate to Power Apps -> Solutions -> Environment Variable.
• Edit the variable to remove the existing Default and Current value and save. Export the solution with this variable.

Environment Variables

Environment Variables

• Now in the other environment (where you plan to move this variable), navigate to Power Apps -> Solutions
• Import the solution with the environment variable.
• While you import the solution you shall get a prompt as shown below, asking for the value for your variable.

Environment Variables

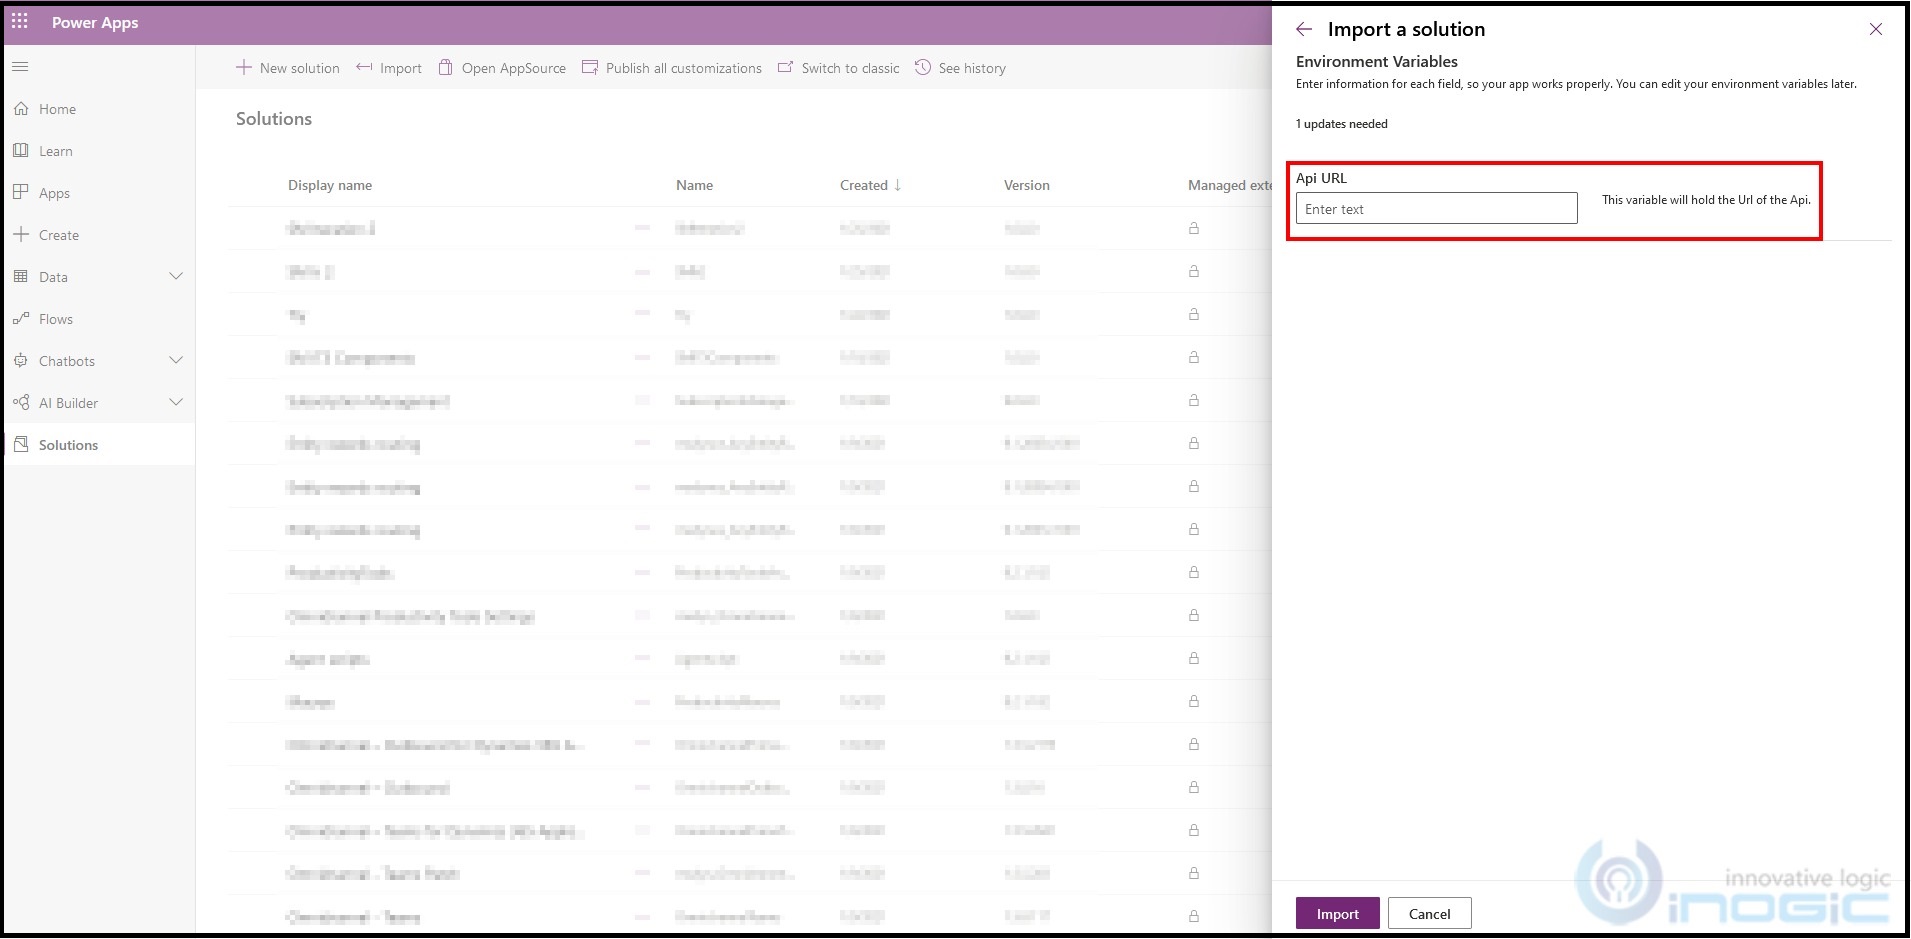
You can either enter the value immediately or edit the field later.

Note:

– You will get the prompt to enter a value on solution import only if the variable has neither a Default Value nor a Current Value. If you just removed the Current Value before exporting the solution you will not get this prompt while importing the solution. However, you can edit the variable later to add the Current Value.

– You get this prompt irrespective of the solution being of the type Managed or Unmanaged solution.

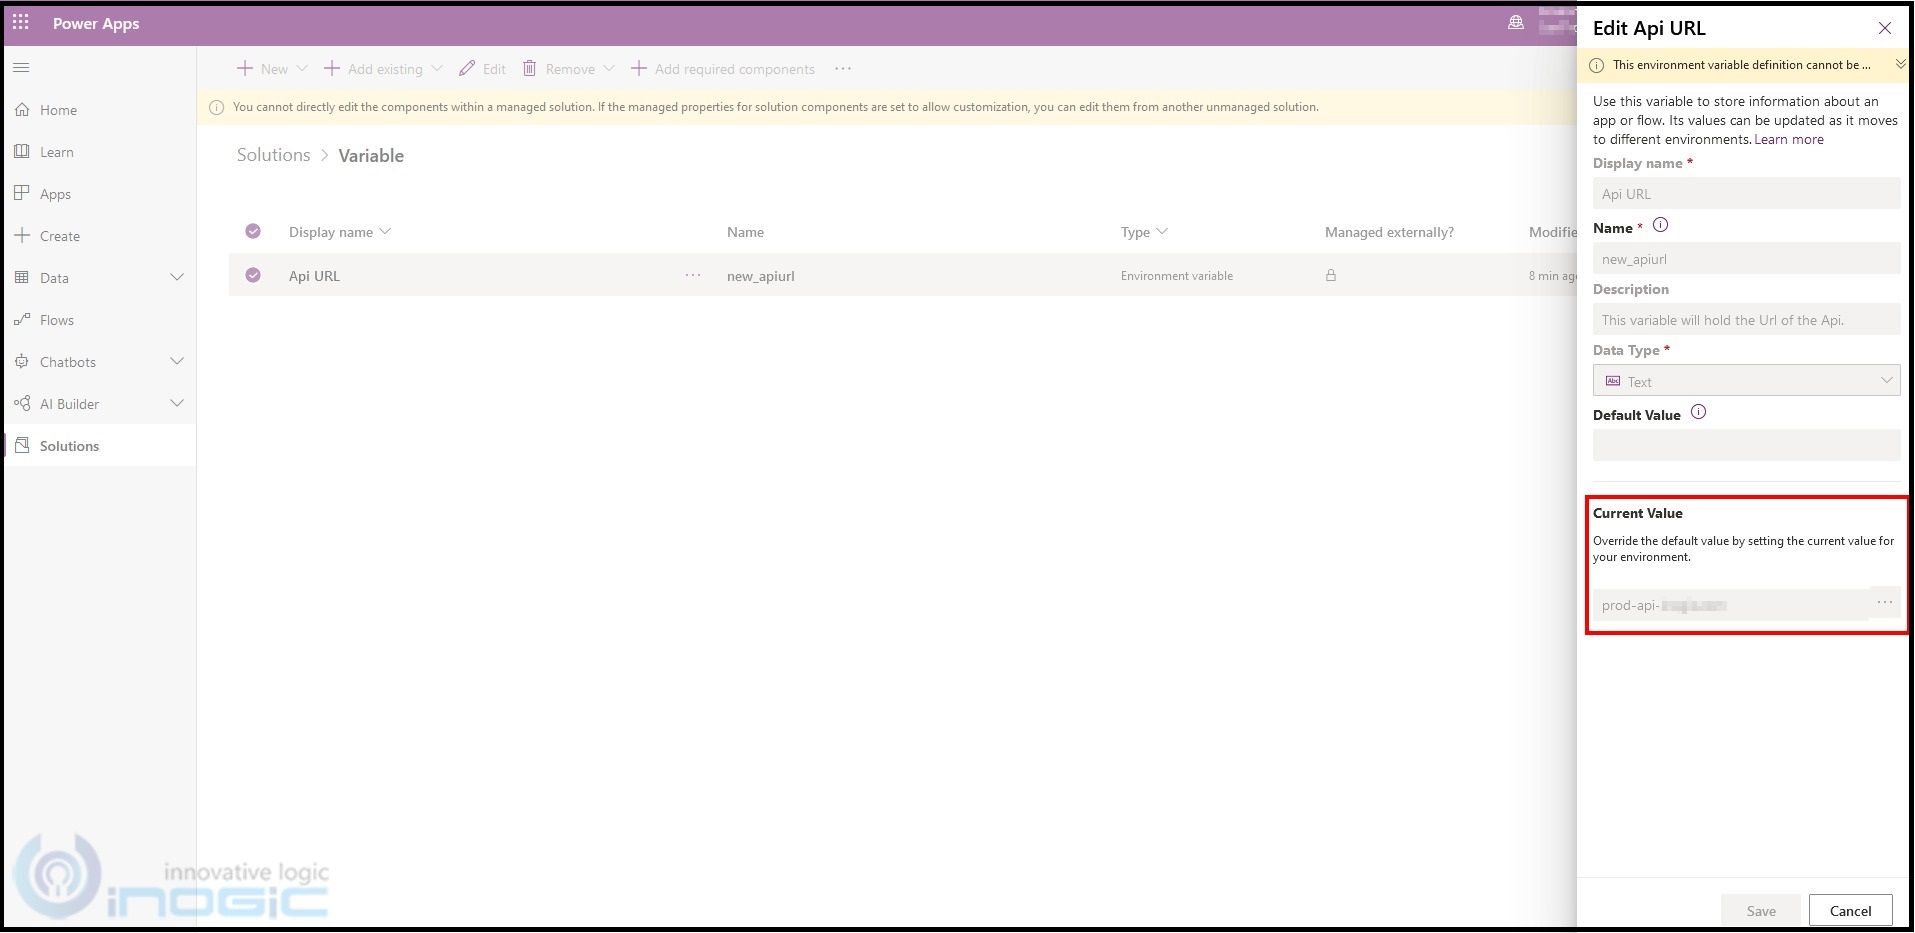
– In case the environment variable is part of a managed solution, it cannot be edited later to add or update the Current Value.

Environment Variables

Conclusion

Environment variable is a better way to hold the configuration details required by our environment and pass it on to other environments as well with different values in it.

Wednesday 28 August 2024

Create your first PCF custom control step-by-step and deploy in Power Apps


Create your first PCF custom control step-by-step and deploy in Power Apps

Follow below steps to create your first PCF control for Power Apps.

Step 1 – Install Node JS

First you have to install node.js using official website of Node JS. Follow the link https://nodejs.org/en/download/current/ to navigate to Node JS site. Click on Windows Installer to download the setup file. chose a folder to save the MSI file and install the MSI file in your machine.

Once installed verify by typing the script node -v in command prompt. To open command prompt type window key + R. it will open run command. Type cmd and hit enter. it will open black screen command prompt. Type node -v and hit enter, you will see the node version.

Step 2 – Install Power Apps CLI

Navigate to https://aka.ms/PowerAppsCLI and download Power Apps CLI. Install it after download.

Verify by typing pac install latest command in command prompt.

Step 3 – Install Visual Studio Code

Download Free Visual Studio code and install from this URL https://code.visualstudio.com/download

Step 4 – Create a PCF project folder

Create a folder in your local drive. Lets create a folder named as “FirstPCF” in C:/ Drive.

open command prompt and change your current directory to FirstPCF folder by using cd/ and then cd firstpcf


now your command prompt pointing to FirstPCF folder. type code and hit enter. It will open the folder in visual studio code.


Now you are in Visual Studio Code. In Visual Studio code click on File and Open Folder. Point to FirstPCF folder and click Open.

Your VS Code is now pointing to the same directory.

Open a new Terminal in VS Code by using terminal menu and new terminal option.

The PowerShell Terminal will open. Change the terminal to Command Prompt Terminal by using + icon.

Now you will see the final terminal here in below screenshot.

Enter the below command to initialize a PCF project and hit enter inside terminal.

pac pcf init –namespace softchiefNS –name softchiefPCF –template field

now type npm install command and hit enter.

It will now install all required dependencies into your project.

Now the PCF project base is ready.

Step 5 – Develop your first control

Install Power Platform tools inside VS Code.

Inside FirstPCF folder you will find all files installed.

check the directory first. you will see these files inside.


Open the ControlManifest.Input.xml file created inside the folder created with the control’s name. The control manifest is an XML file that contains the metadata of the code component. It also defines the behavior of the code component. When you open the ControlManifest.Input.xml file in Visual Studio Code, you’ll notice that the manifest file is predefined with some properties.


<?xml version="1.0" encoding="utf-8" ?>
<manifest>
  <control namespace="softchiefNS" constructor="softchiefPCF" version="0.0.1" display-name-key="softchiefPCF" description-key="softchiefPCF description" control-type="standard" >
    <!--external-service-usage node declares whether this 3rd party PCF control is using external service or not, if yes, this control will be considered as premium and please also add the external domain it is using.
    If it is not using any external service, please set the enabled="false" and DO NOT add any domain below. The "enabled" will be false by default.
    Example1:
      <external-service-usage enabled="true">
        <domain>www.Microsoft.com</domain>
      </external-service-usage>
    Example2:
      <external-service-usage enabled="false">
      </external-service-usage>
    -->
    <external-service-usage enabled="false">
      <!--UNCOMMENT TO ADD EXTERNAL DOMAINS
      <domain></domain>
      <domain></domain>
      -->
    </external-service-usage>
    <!-- property node identifies a specific, configurable piece of data that the control expects from CDS -->
    <property name="sampleProperty" display-name-key="Property_Display_Key" description-key="Property_Desc_Key" of-type="SingleLine.Text" usage="bound" required="true" />
    <!--
      Property node's of-type attribute can be of-type-group attribute.
      Example:
      <type-group name="numbers">
        <type>Whole.None</type>
        <type>Currency</type>
        <type>FP</type>
        <type>Decimal</type>
      </type-group>
      <property name="sampleProperty" display-name-key="Property_Display_Key" description-key="Property_Desc_Key" of-type-group="numbers" usage="bound" required="true" />
    -->
    <resources>
      <code path="index.ts" order="1"/>
      <!-- UNCOMMENT TO ADD MORE RESOURCES
      <css path="css/softchiefPCF.css" order="1" />
      <resx path="strings/softchiefPCF.1033.resx" version="1.0.0" />
      -->
    </resources>
    <!-- UNCOMMENT TO ENABLE THE SPECIFIED API
    <feature-usage>
      <uses-feature name="Device.captureAudio" required="true" />
      <uses-feature name="Device.captureImage" required="true" />
      <uses-feature name="Device.captureVideo" required="true" />
      <uses-feature name="Device.getBarcodeValue" required="true" />
      <uses-feature name="Device.getCurrentPosition" required="true" />
      <uses-feature name="Device.pickFile" required="true" />
      <uses-feature name="Utility" required="true" />
      <uses-feature name="WebAPI" required="true" />
    </feature-usage>
    -->
  </control>
</manifest>

The control node defines the namespace, version, and display name of the code component. property node identifies a specific, configurable piece of data that the control expects from CDS.

You can change name, description and of-type, usage and required field. Usage has two property bound and input. Bound properties are bound only to the value of the column. Input properties are either bound to a column or allow a static value. Read more type groups here.

<property name="sampleProperty" display-name-key="Property_Display_Key" description-key="Property_Desc_Key" of-type="SingleLine.Text" usage="bound" required="true" />

You can call CSS, TypeScript resource node. Update manifest file as below. control type-of-group added.

<?xml version="1.0" encoding="utf-8" ?>
<manifest>
  <control namespace="softchiefNS" constructor="softchiefPCF" version="0.0.1" display-name-key="softchiefPCF" description-key="softchiefPCF description" control-type="standard" >
    <type-group name="numbers">
        <type>Whole.None</type>
        <type>Currency</type>
        <type>FP</type>
        <type>Decimal</type>
      </type-group>
    <property name="sampleProperty" display-name-key="Property_Display_Key" description-key="Property_Desc_Key" of-type-group="numbers" usage="bound" required="true" />

    <resources>
      <code path="index.ts" order="1"/>
      <css path="css/softchiefPCF.css" order="1" />
    </resources>
  </control>
</manifest>

open index.ts file inside visual studio.

download a sample PDF to go step by step here .

https://bgx.blob.core.windows.net/files/powerplatform/PCFControlGuide.pdf

Follow Microsoft Site to build a Sample PCF

https://docs.microsoft.com/en-us/power-apps/developer/component-framework/implementing-controls-using-typescript

Hope this helps.

Saturday 3 August 2024

.net basics updated


  • Entity Framework Core is an object-database mapper (and a successor to Entity Framework).
  • .NET Core is a cross-platform software framework developed by Microsoft (and a successor to .NET Framework).

They are two different things, hence uncomparable. The latter is used to develop applications of any kind, the former makes it easy to build data-oriented applications.

Both save you time implementing widely adopted patterns.

Entityframework Core is one O/RM (Object-relational mapping ) that you can use on .net core framework


 .NET 5 through .NET 8 are the ongoing continued development of the .NET Core platform. The "classic" (legacy, Windows-only) .NET Framework ended at v4.8.1 and no new version will be forthcoming


Releases

VersionStart DateEnd Date
.NET 8 (LTS)Nov 14, 2023Nov 10, 2026
.NET 7Nov 8, 2022May 14, 2024
.NET 6.0 (LTS)Nov 8, 2021Nov 12, 2024
.NET 5.0Nov 10, 2020May 10, 2022
.NET Core 3.1 (LTS)Dec 3, 2019Dec 13, 2022
.NET Core 3.0Sep 23, 2019Mar 3, 2020
.NET Core 2.2Dec 4, 2018Dec 23, 2019
.NET Core 2.1 (LTS)May 30, 2018Aug 21, 2021
.NET Core 2.0Aug 14, 2017Oct 1, 2018
.NET Core 1.1Nov 16, 2016Jun 27, 2019
.NET Core 1.0Jun 27, 2016Jun 27, 2019


Power Apps Drag & Drop Kanban code sample

  Introduction: The Kanban Board App Developers at a software company use the Kanban board to show their progress on development tasks and b...