CREATING A CUSTOM ACTION AND CALLING IT FROM WEB API IN DYNAMICS 365 POWER APPS
In Dynamics 365 and Power Apps, we can create Custom Actions and use these with plugins to invoke business-specific code through the Power Apps / Dynamics 365 Web API. These actions don’t even need any parameters to run and can contain no steps. They will simply execute our custom code, which can do whatever we want and we can invoke when we want.
In this example, let’s create a plugin that will create a contact called “Bob Smith” (simple example). Unlike other plugins, we won’t register this to run when a typical message such as a create/retrieve/update/delete runs on an entity. Instead, we will create a new custom Action in the process designer and will call it from JavaScript code through the Web API, showing we can have this new code run how we want it to (without binding it to an event).
First, let’s create a new plugin. Open Visual Studio and create a new Class Library.
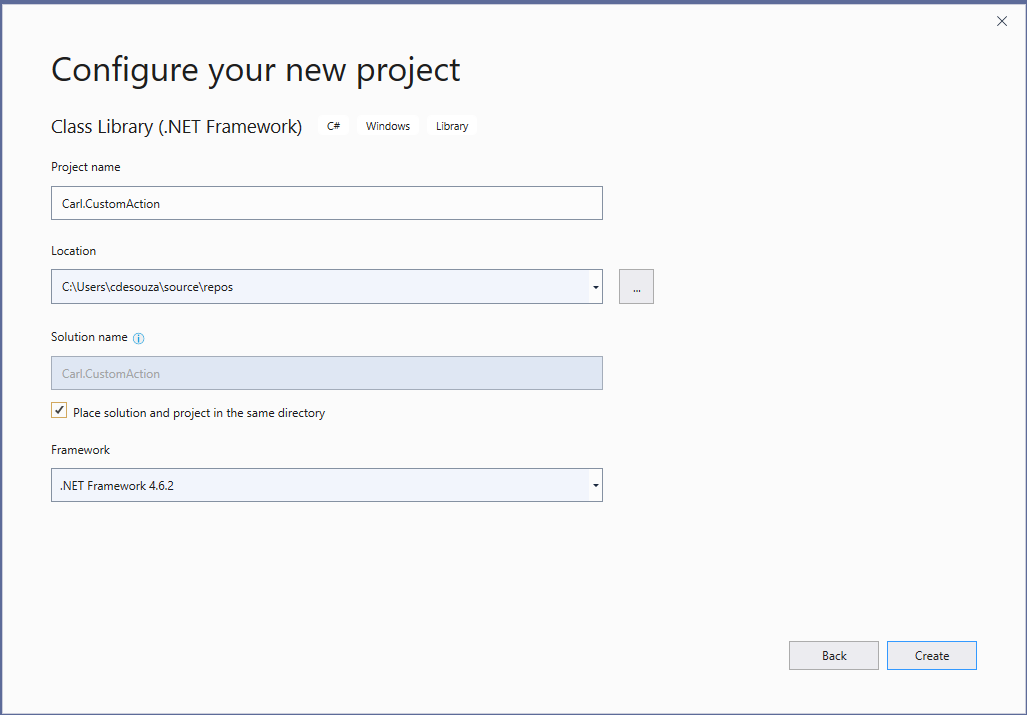
Install the Microsoft.CrmSdk.CoreAssemblies using NuGet:

Rename the file to CustomAction (or whatever you want) and add the code below, where we are using IPlugin and code in our Execute method to create a new contact:
Sign the assembly and build the project. We now have plugin code ready to run.
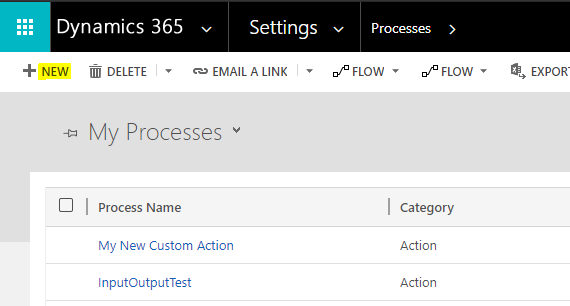
Now, let’s create an action in Dynamics 365. Go to Processes->New:
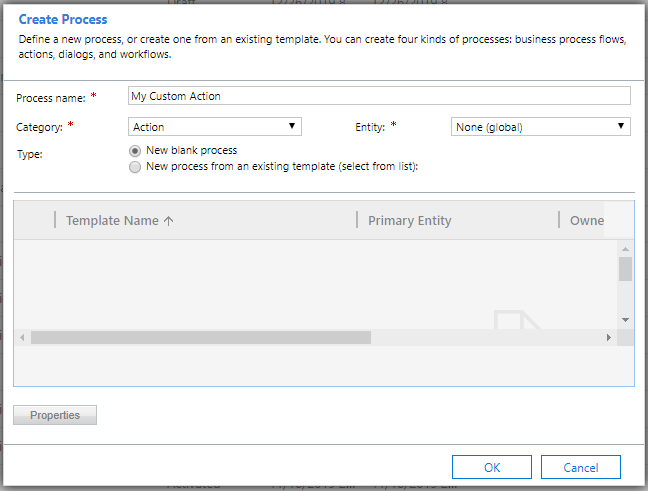
We will call the action My Custom Action and the entity as None (global):
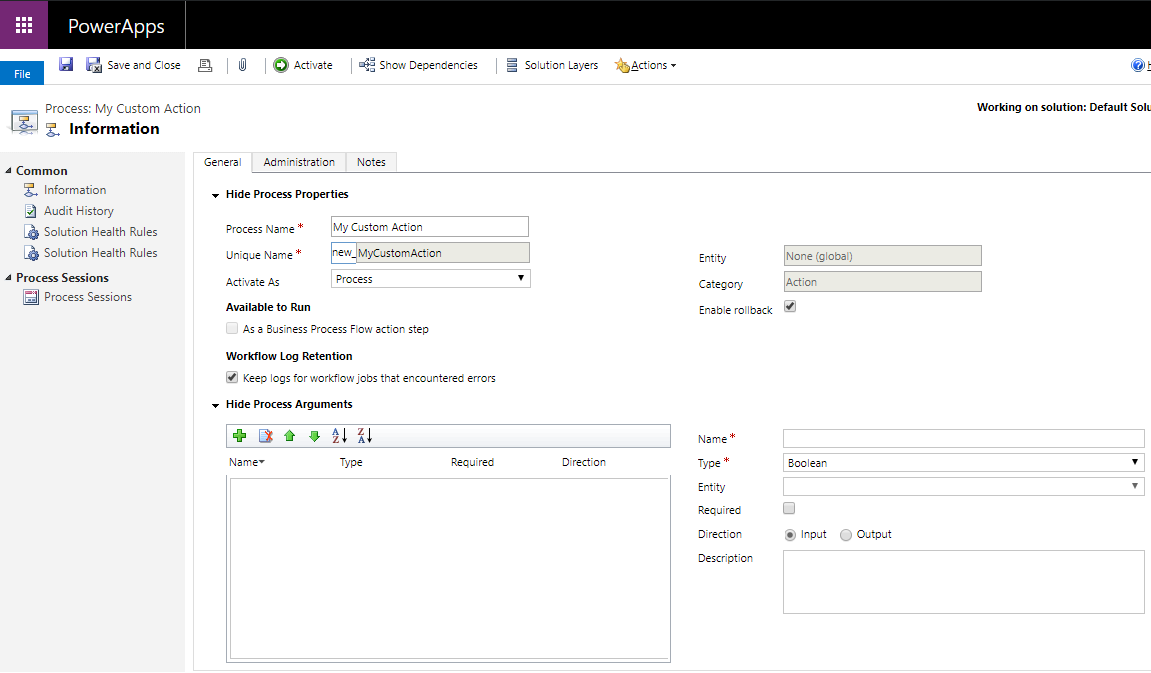
We don’t need to add any arguments or steps. Save it and Activate it like below:
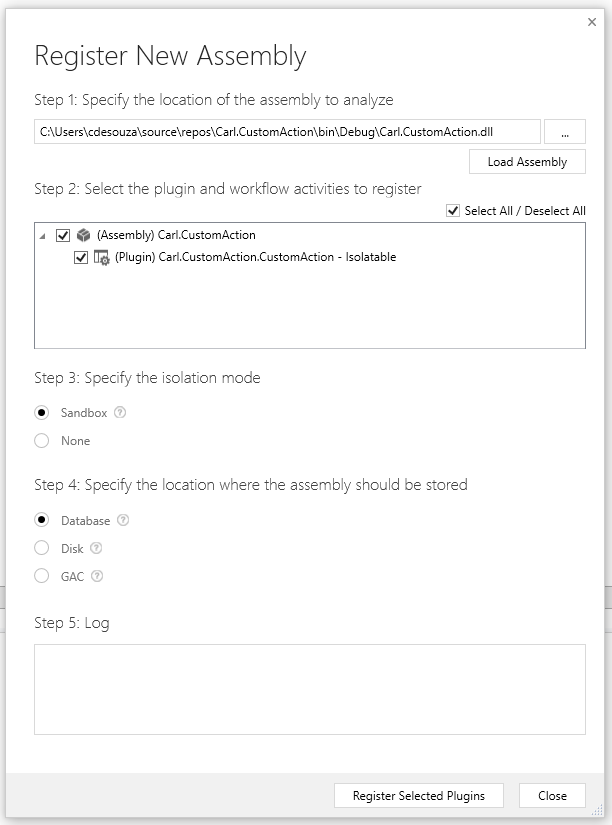
Now, open the Plugin Registration Tool and register the assembly
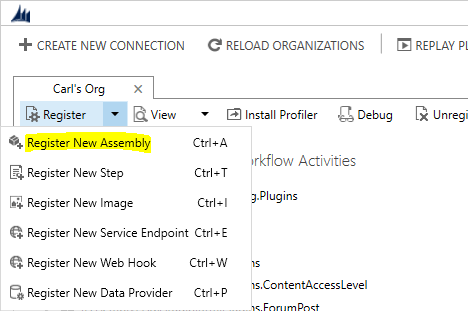
Select the plugin code:
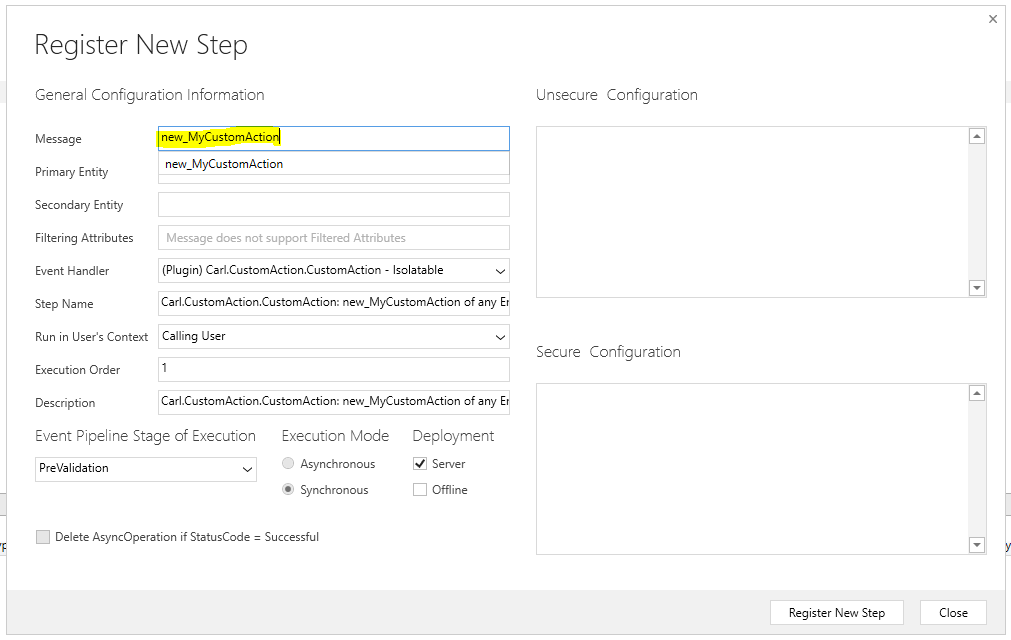
And a New Step:

Here we use the action we created as the message, i.e. new_MyCustomAction:
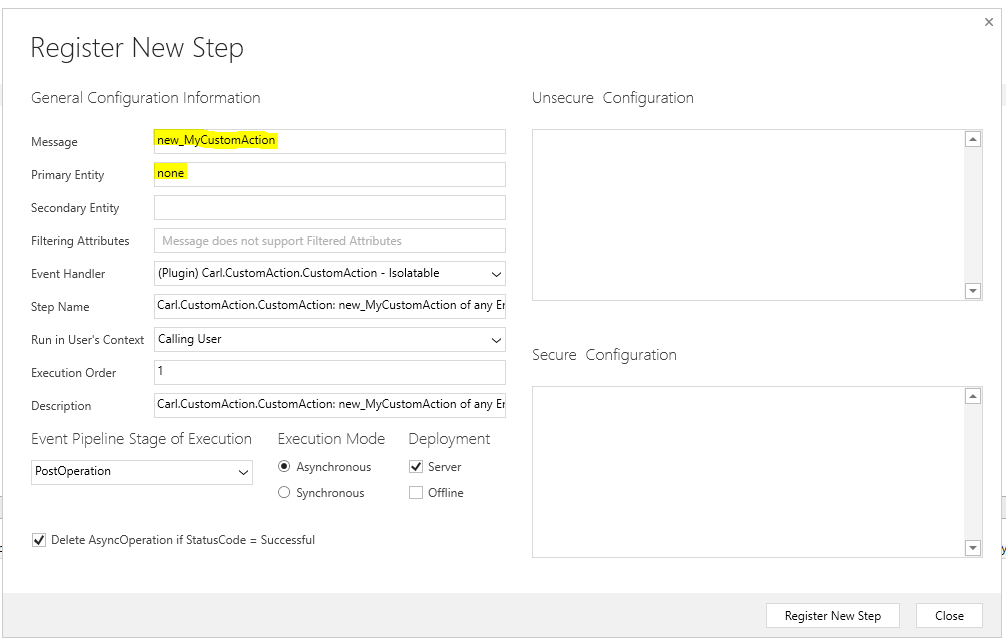
We will call it like below, on no entity:
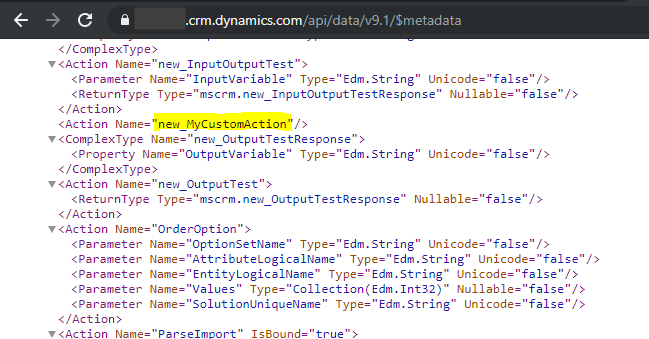
If we were to look at the metadata in our org by browsing out to the Web API, we see our new action:
Now let’s call our action using JavaScript. We will use a simple piece of JS code to invoke our custom action:
We can run this code from the browser debugger:
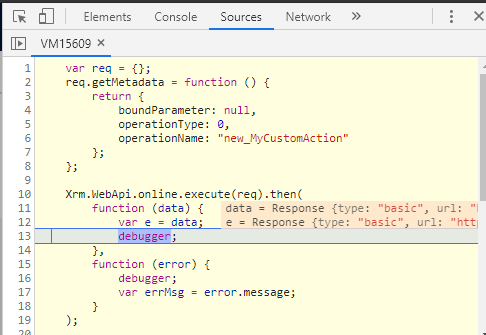
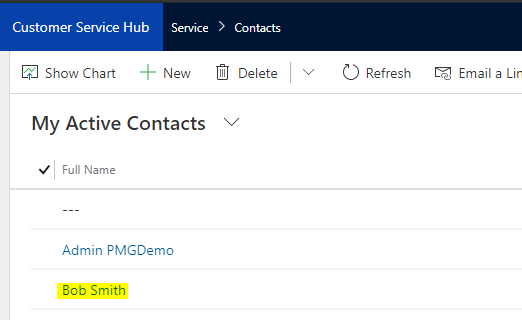
On running this, we see our custom action has run successfully and has created a contact called Bob Smith:
We now have a service that we can call any time we want to perform the custom action.

No comments:
Post a Comment