Below is the quick step by step guide to get started (sort of Hello World example)
- Install NPM (that comes with Node.js)
- Install Visual Studio 2017 or later or Download .NET Core 2.2 along with Visual Studio Code.
- Create the new folder for the project, and in Developer Command Prompt for VS 2017 navigate to the folder and run the below command to create a new component project
pac pcf init
– -namespace <namespace for the component>
– -name <name of the component>
– -template <component type>

It adds the following files in the folder.

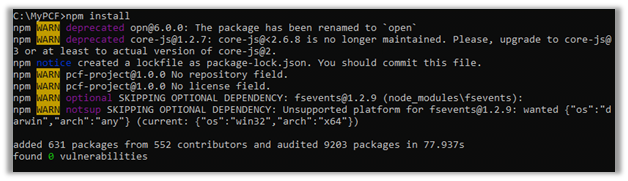
- Next run npm install command to install the project dependencies.
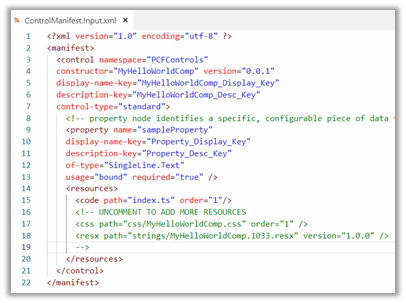
- Open the ControlManifest.Input.xml file created inside the folder created with the control’s name.


- Here we have opened it in Visual Studio Code, for this simple example purpose let us not change the default values.
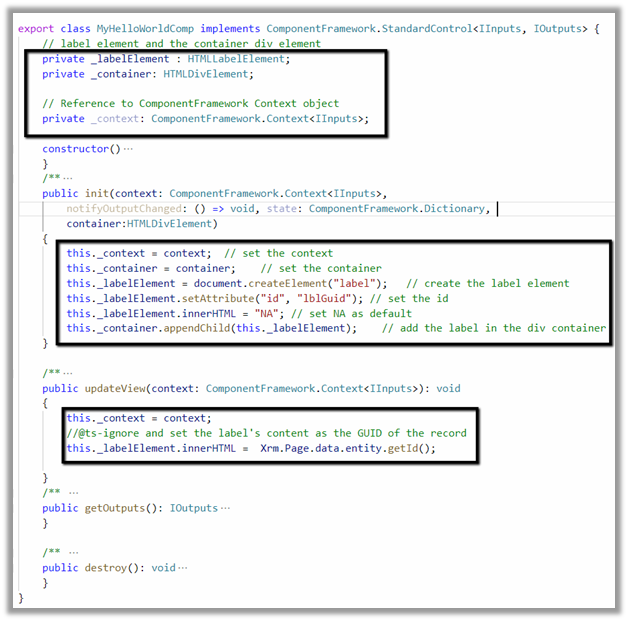
- Open the index.ts which wherein we’d be writing code for our custom control

- Add the following line of code to add a label control that will display that GUID of the record.
- Run npm run build command to build the control

- To test the control run npm start command

*Use ctrl + c è to terminate the job.

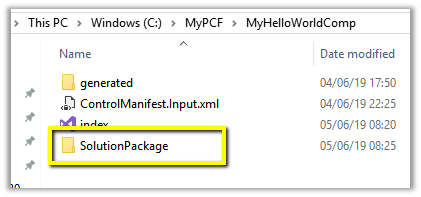
- Create a new folder to hold the solution
- Run the below command to define the publisher name and prefix and initialize the solution files creation
pac solution init – -publisherName [publisher name] – -customizationPrefix [publisher prefix]


- Run the below command to add reference to our custom control in the solution
pac solution add-reference – -path [path to pcfproj file]
i.e. reference of the below path.


- This creates the file with extension cdsproj

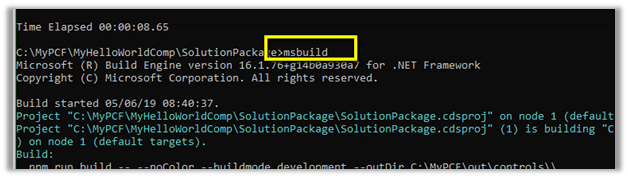
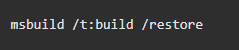
- To generate Zip File run the below command in the Developer Command Prompt for Visual Studio 2017
- MSBUILD /t:restore
- MSBUILD
- MSBUILD /t:restore

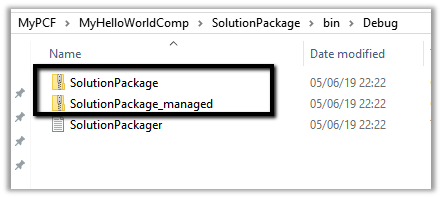
- This adds the Solution zip in the bin Debug folder.

- To get both managed and unmanaged solution, update the cdsproj file
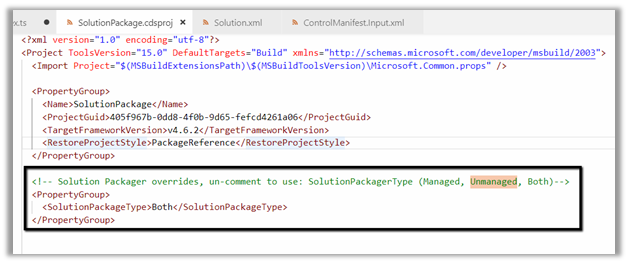
- We can see both managed and unmanaged solution created.
- Import the solution in Dynamics 365 CE and open any of the entity’s form. Here we have created a new text field named GUID in the Contact form and have set our custom control for that field.

For reference à
- After publishing the changes, we can see the GUID being displayed in the form.

- To update the control, change the version for it in the ControlManifest.Input.xml

Followed by
- npm run build
- msbuild
- Importing the new solution file generated
In a nutshell below are the high-level steps à
1. Install npm
2. Install PowerApps CLI
3. Install Visual Studio 2017 or later
4. Create a new folder for the project.
5. Navigate to the folder in Developer Command Prompt and run the following command to create the component project
PAC PCF INIT –NAMESPACE <COMPONENT NAMESPACE> –NAME <COMPONENT NAME> –TEMPLATE <COMPONENT TYPE>

6. Install the project dependencies using below command
NPM -INSTALL
7. Update ControlManifest.Input.xml
8. Update index.ts
9. Build the project
NPM RUN BUILD
10. Use the below command to test the component
NPM START
11. Create a folder for holding the solution zip and related files. Navigate to that folder and run the below command.
PAC SOLUTION INIT – -PUBLISHERNAME [PUBLISHER NAME] – -CUSTOMIZATIONPREFIX [PUBLISHER PREFIX]

12. Add reference of the custom component in the solution
PAC SOLUTION ADD-REFERENCE – -PATH [PATH TO PCFPROJ FILE]

13. To create the Solution Zip File
MSBUILD /T:RESTORE
MSBUILD
14. Import the solution file and use it inside Dynamics 365 CE.


No comments:
Post a Comment